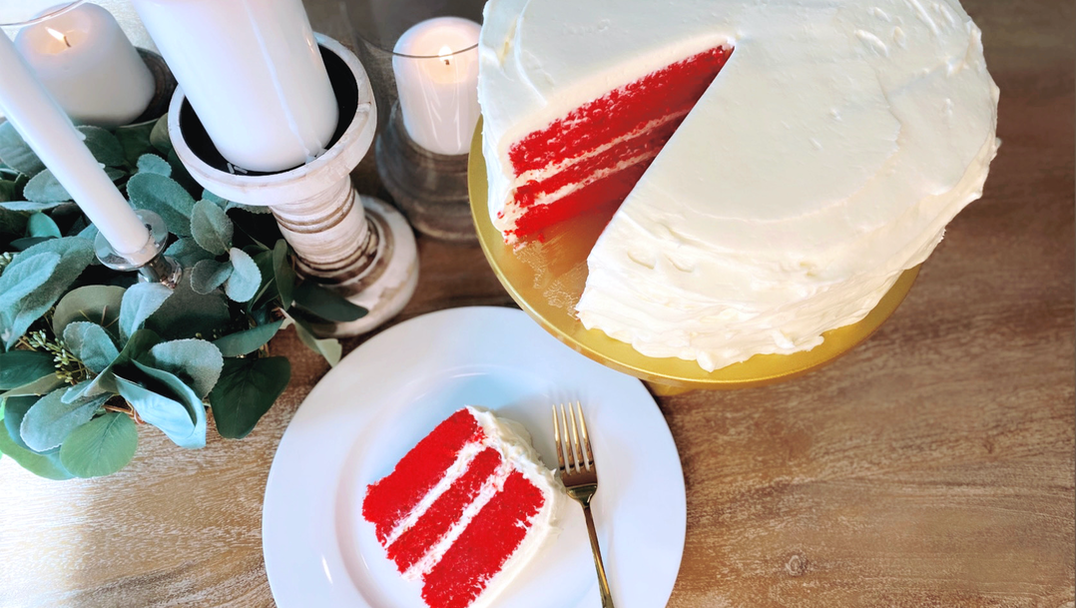
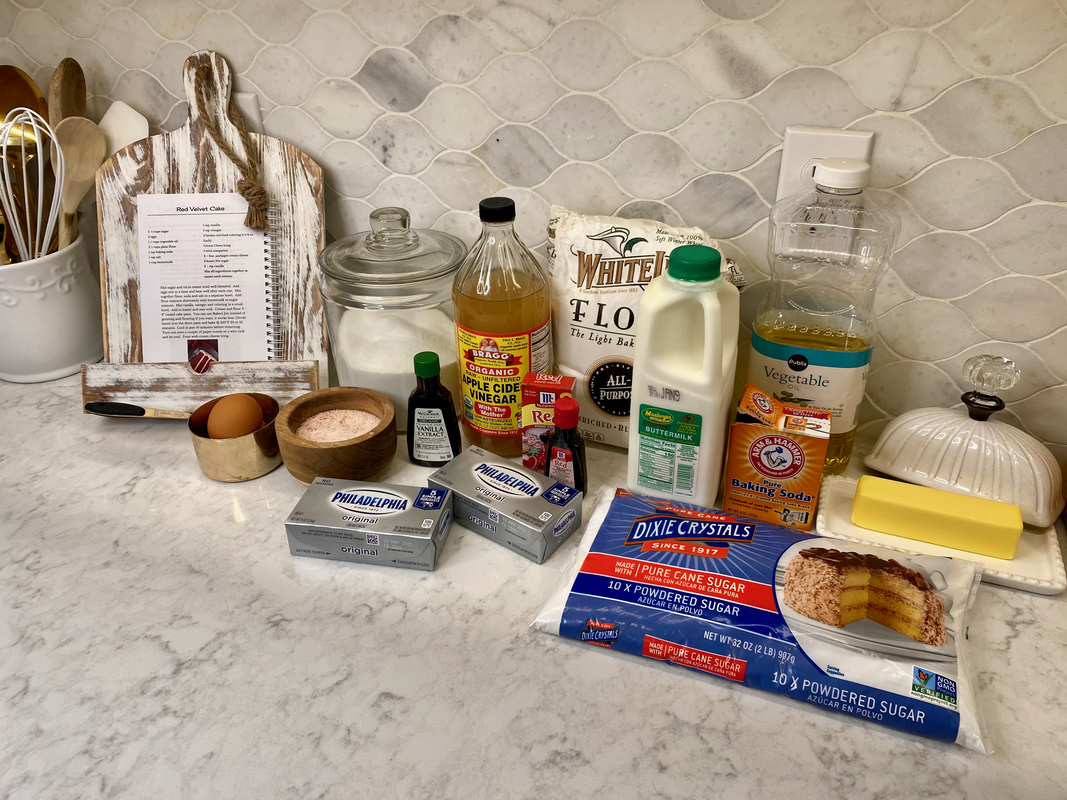
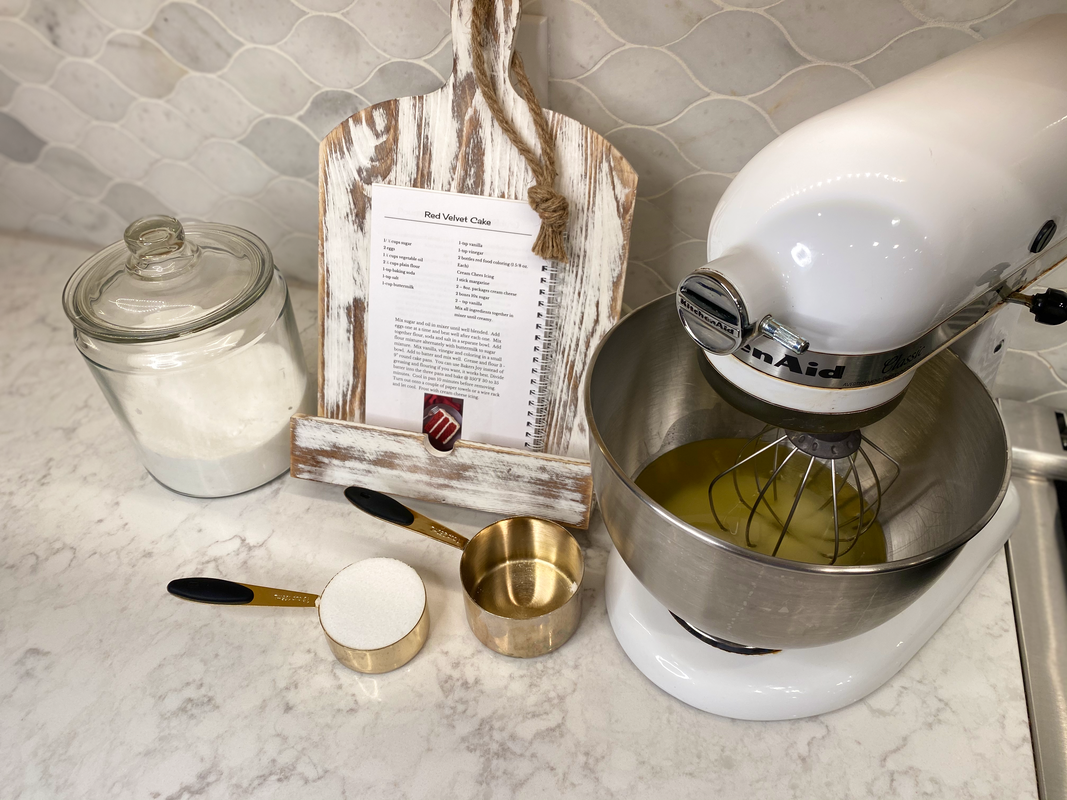
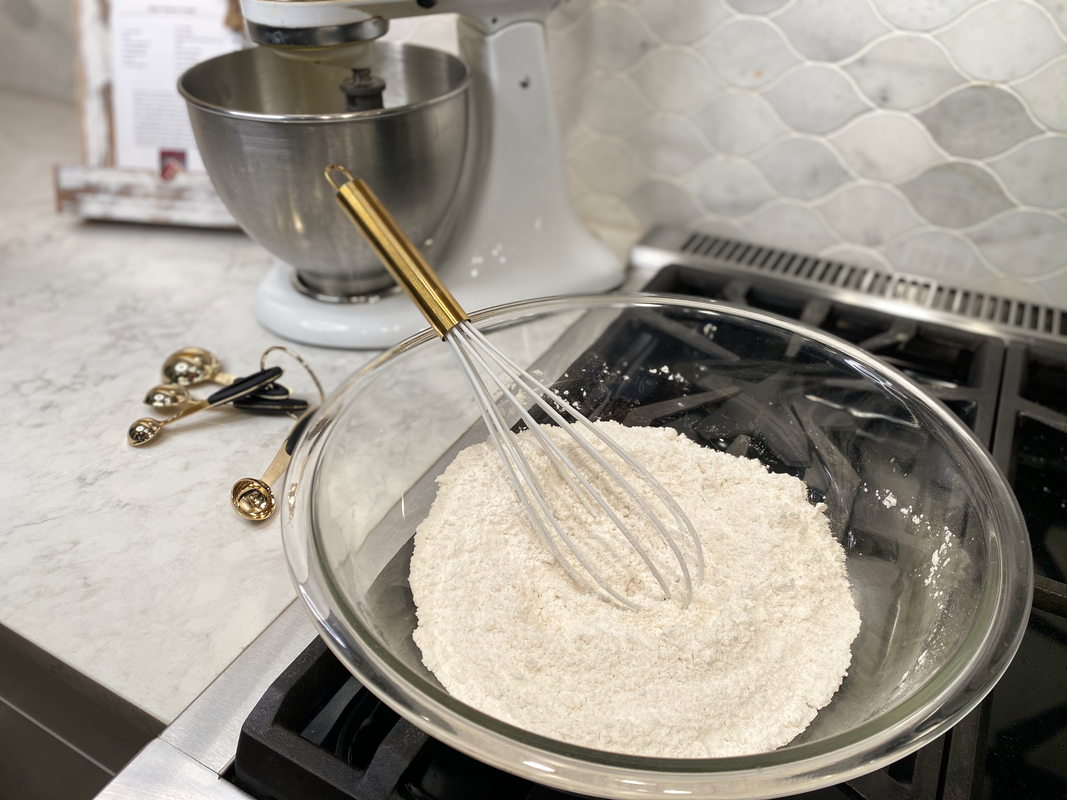
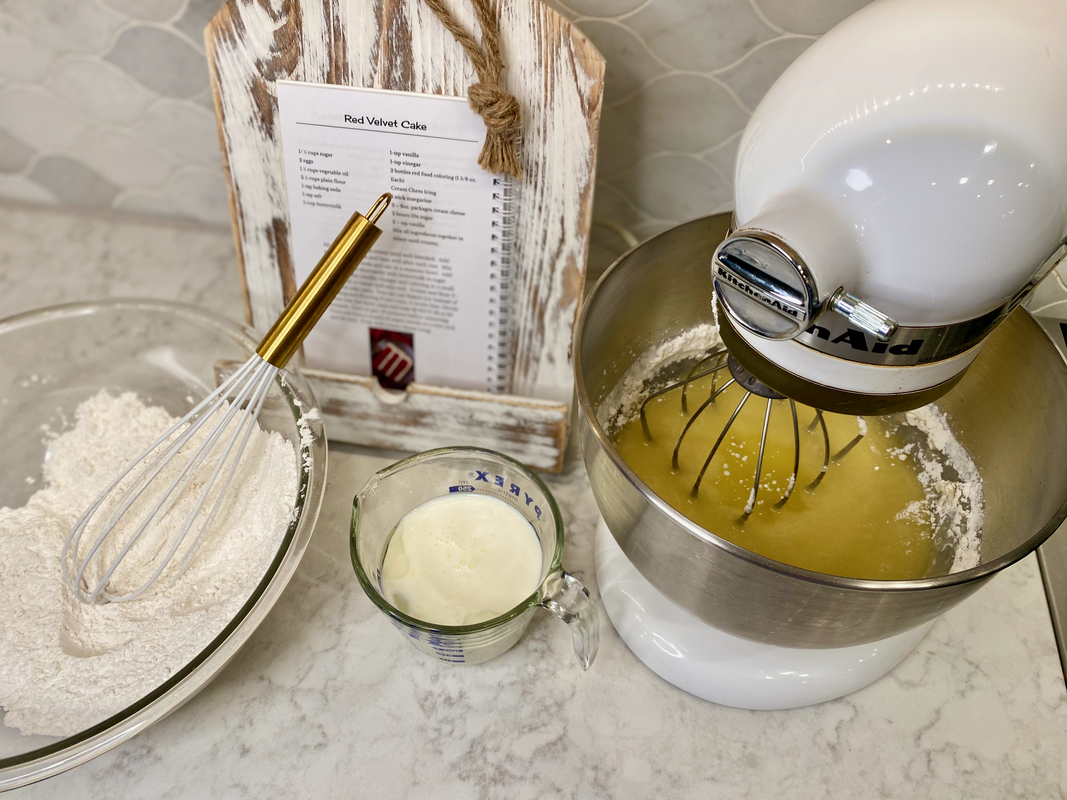
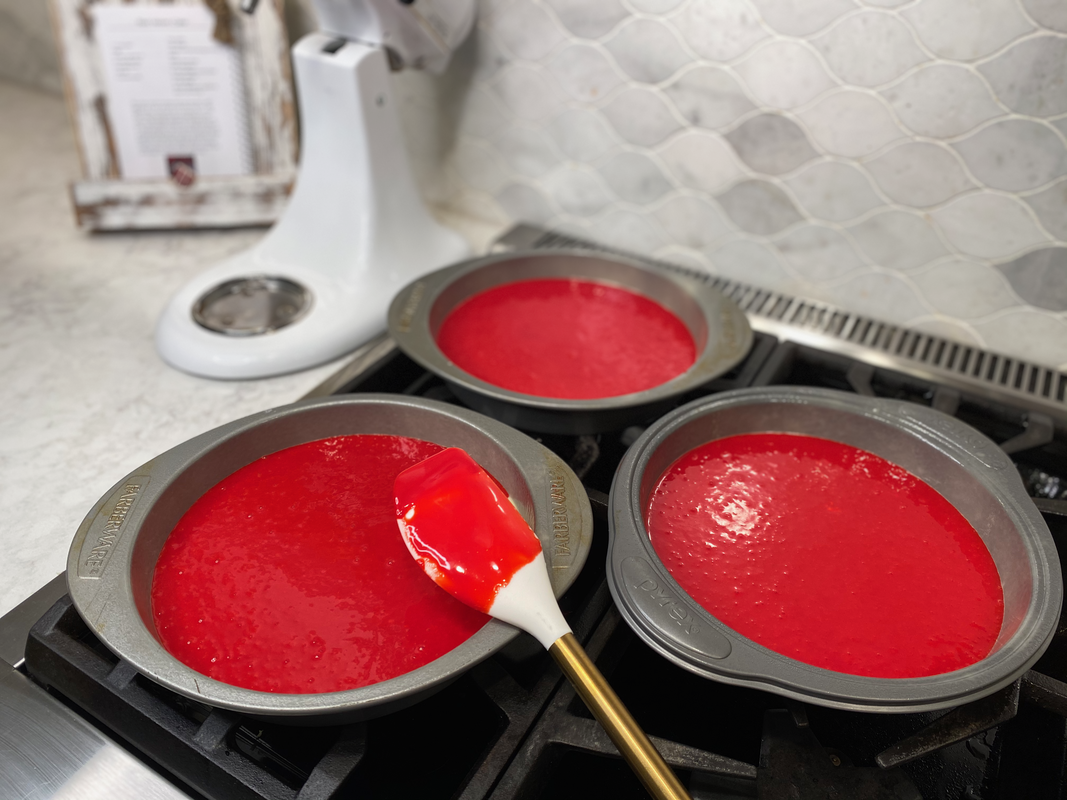
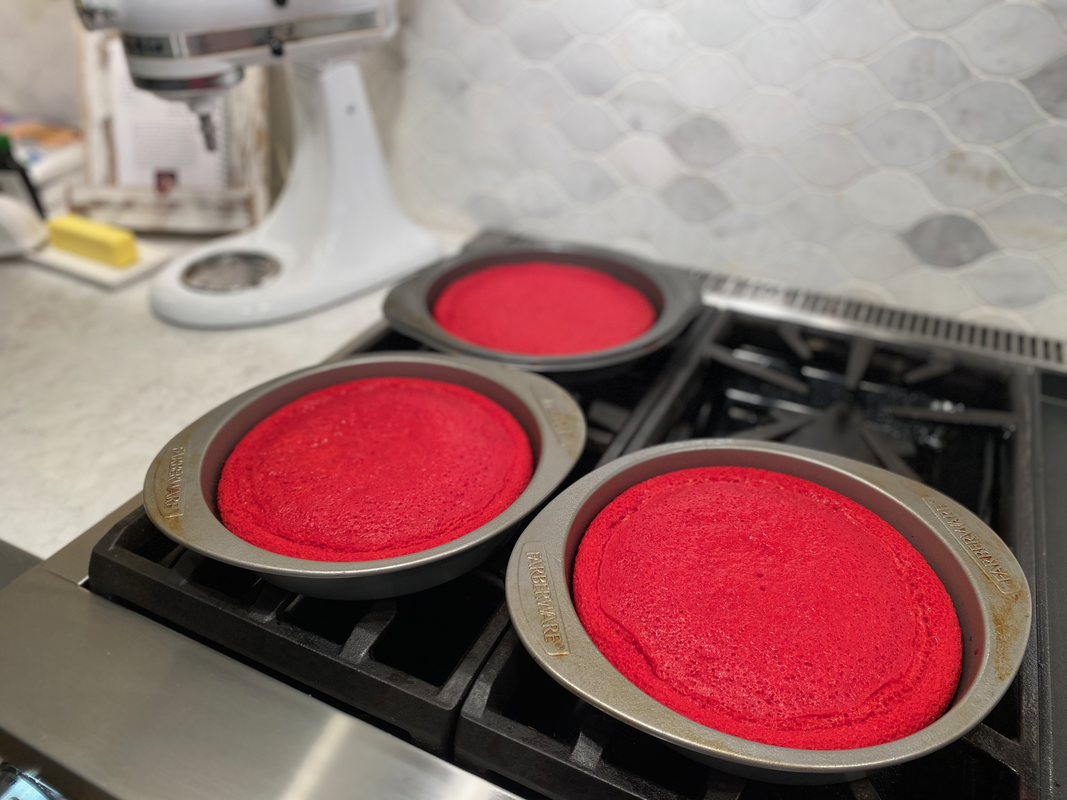
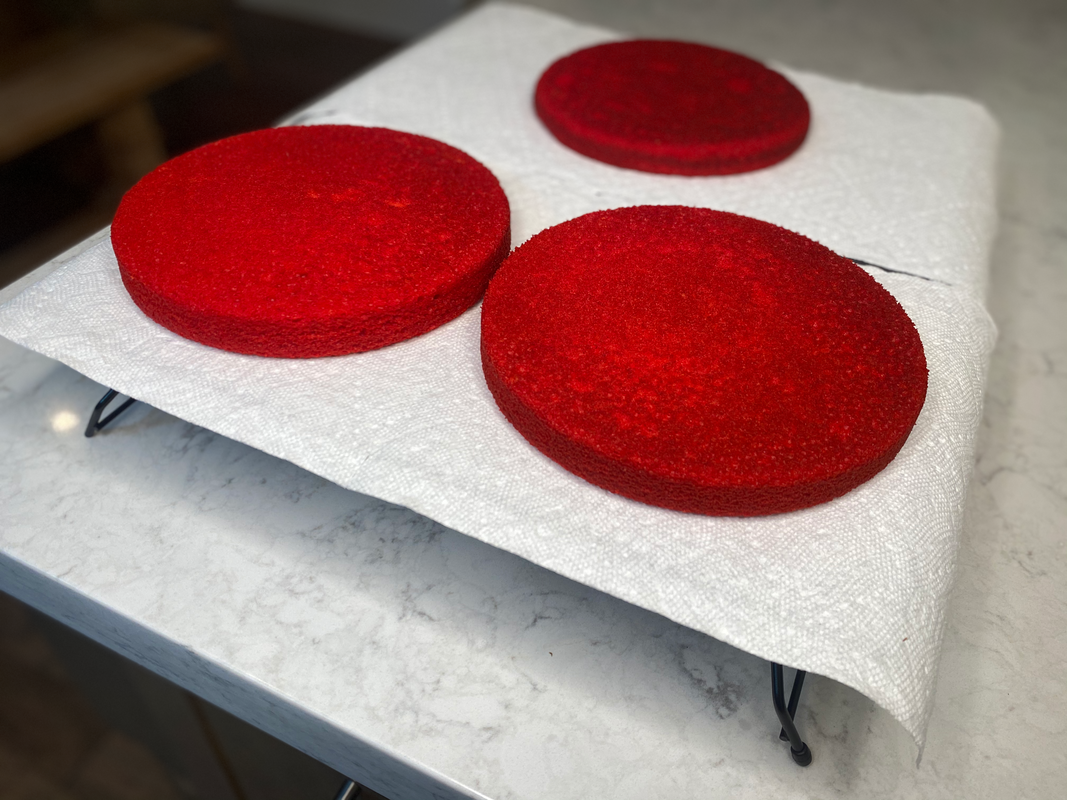
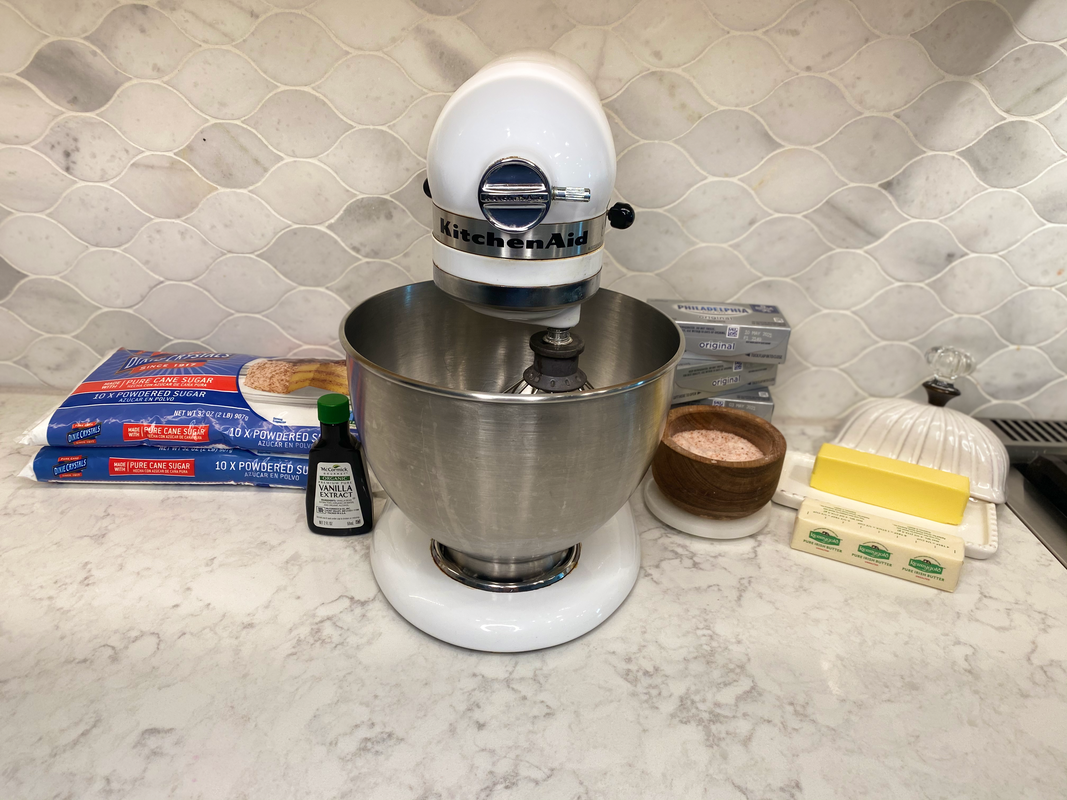
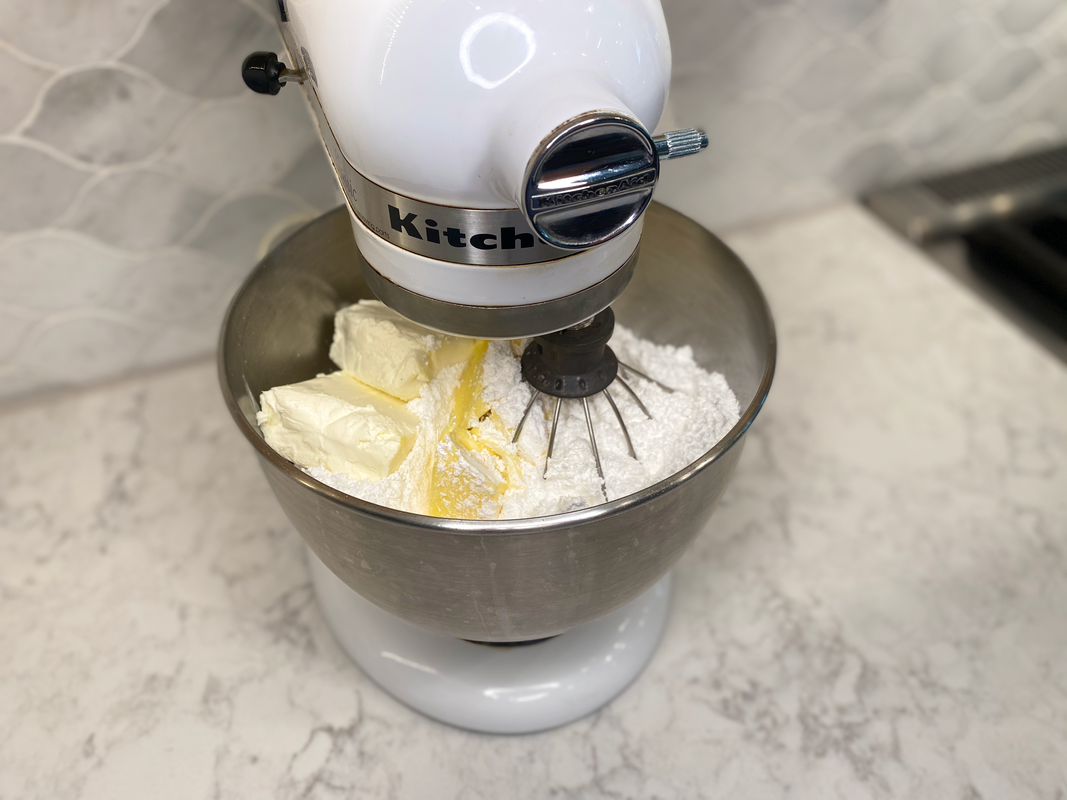
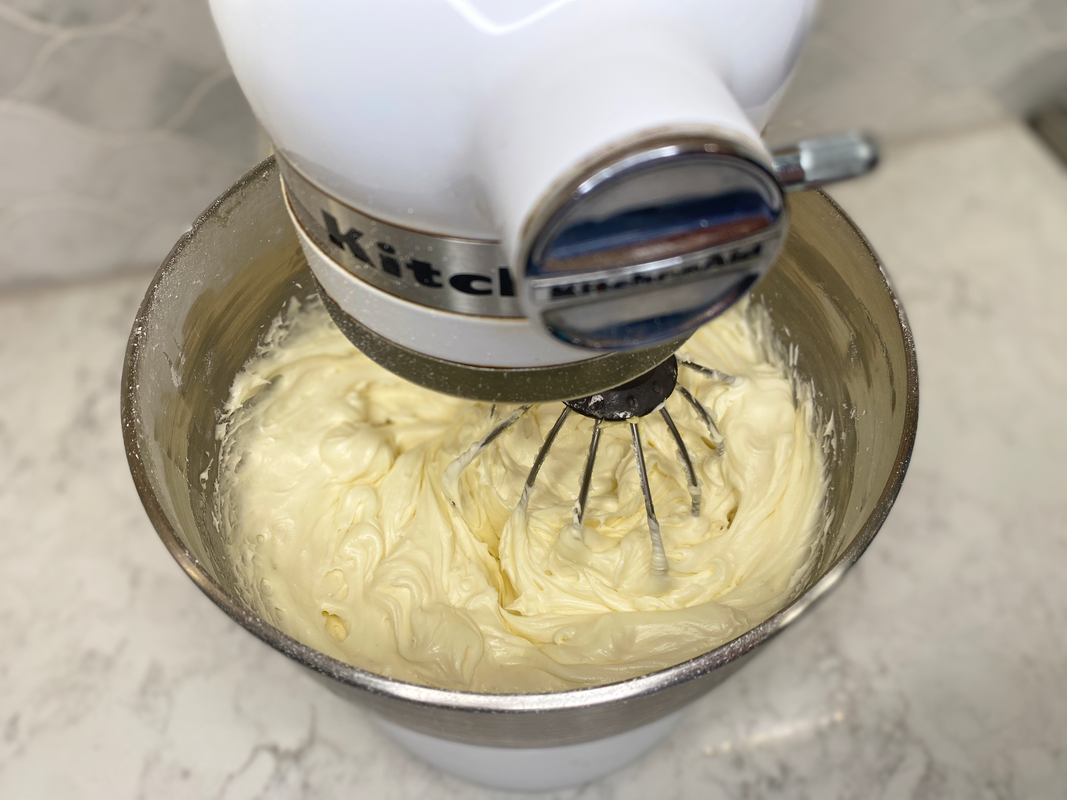
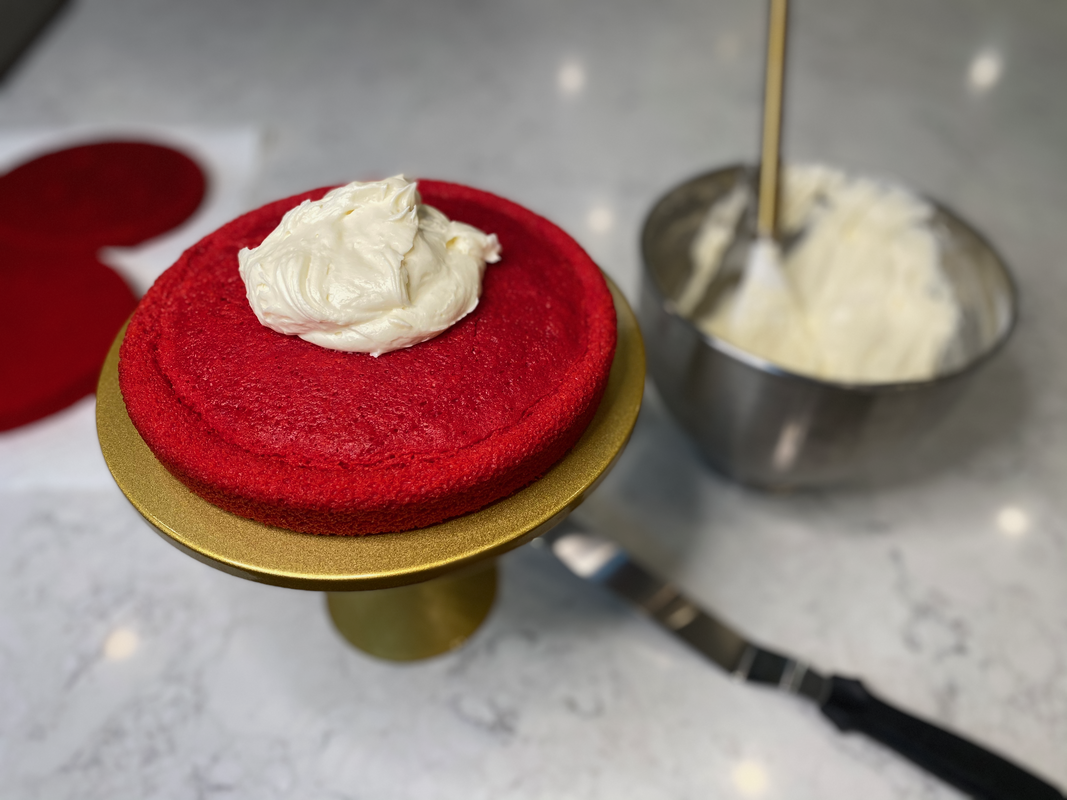
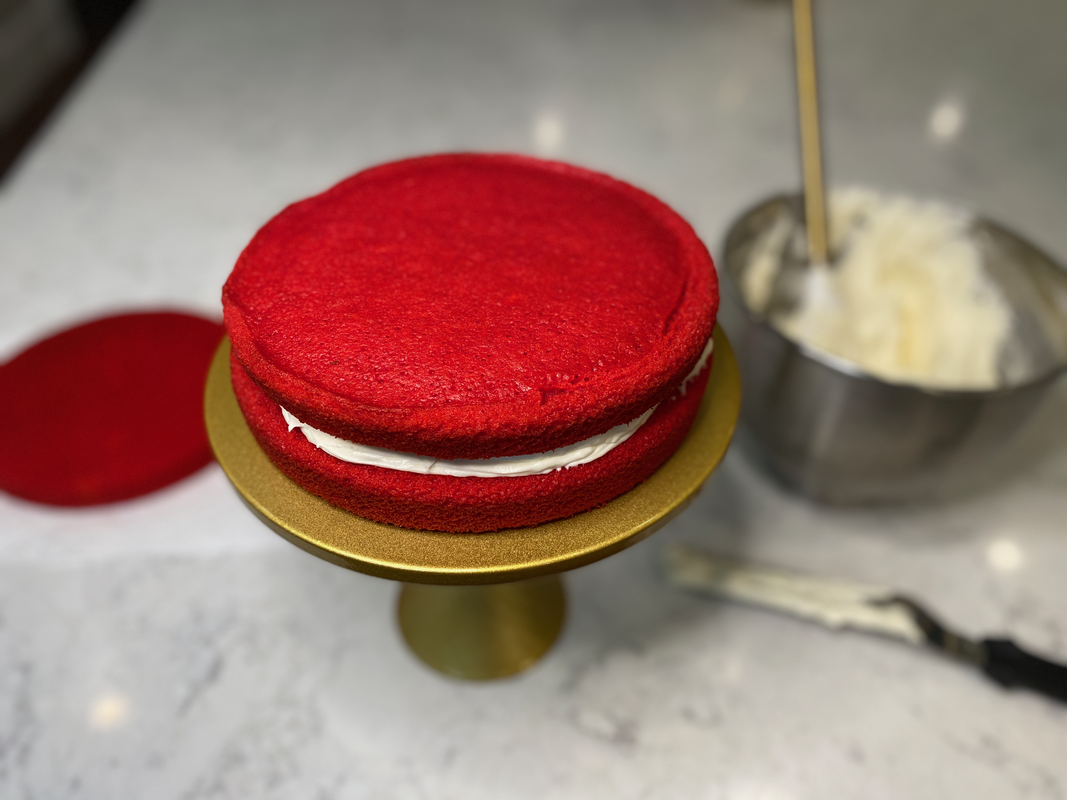
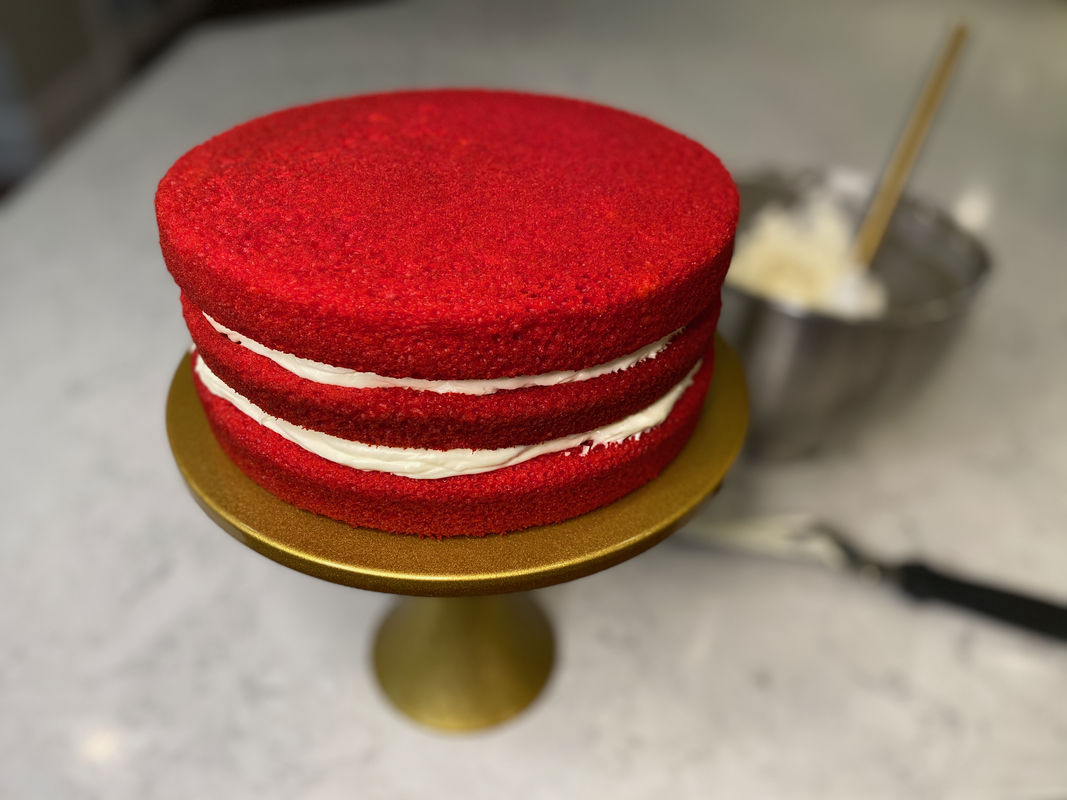
  Me & Granny Guynell Me & Granny Guynell Granny Guynell made the best red velvet cake I’ve ever had. Every year at Christmas time our family would pile in the car and make the 8 hour drive to North Georgia to see Granny. When we arrived at Granny’s house, there would be a huge display of desserts in the formal dining room. Red velvet cake, orange cake, tea cakes… There were so many desserts. The red velvet cake, though, was always my favorite. The vibrant red color of the cake, the decadent cream cheese icing, and the glass plate it was displayed on. It felt so fancy to me, and y’all know this country girl loves all things fancy. Granny’s recipe is a classic southern red velvet cake. There’s no cocoa in her recipe, which would make some sticklers say it isn’t a true red velvet cake. As far as I’m concerned, though, Granny’s red velvet cake is the best I’ve ever had. Now, I continue her tradition and make this cake every year for my family. Preheat your oven to 350 degrees. With a mixer, whisk the oil and sugar together until blended. 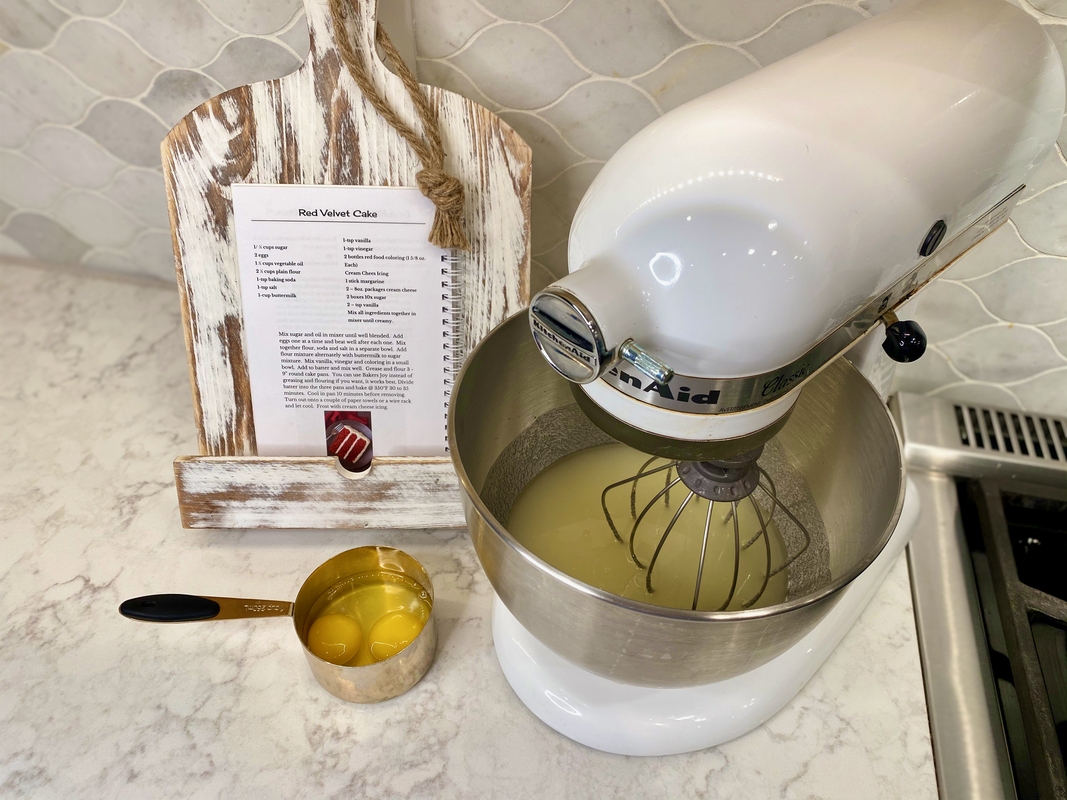 Add the eggs one at a time, mixing well after each one. In a separate bowl, mix together the flour, baking soda and salt. Add the buttermilk and flour mixture alternately to the batter in the mixer. 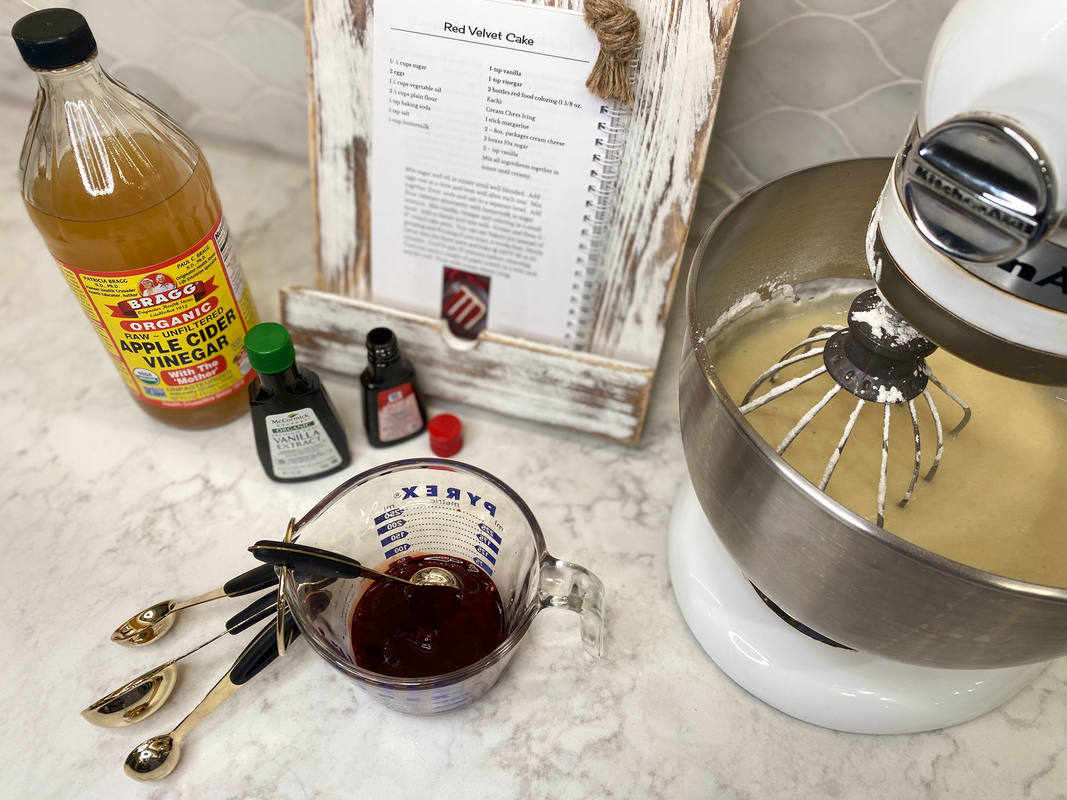 In a small dish, mix the vanilla, vinegar and red food coloring. Carefully add this to the batter. Mix on low or by hand until the coloring is consistent throughout the batter. Be very careful with the red food coloring. It will stain EVERYTHING. Your hands, your nails, your countertops, etc. I like to wear gloves & work over a plate or cutting board when handling it. Butter & flour 3 9” round cake pans. Pour the batter equally into each pan. I like to use Bakers Joy nonstick baking spray instead of buttering and flouring the pan. It works like a dream, and is a big time saver. 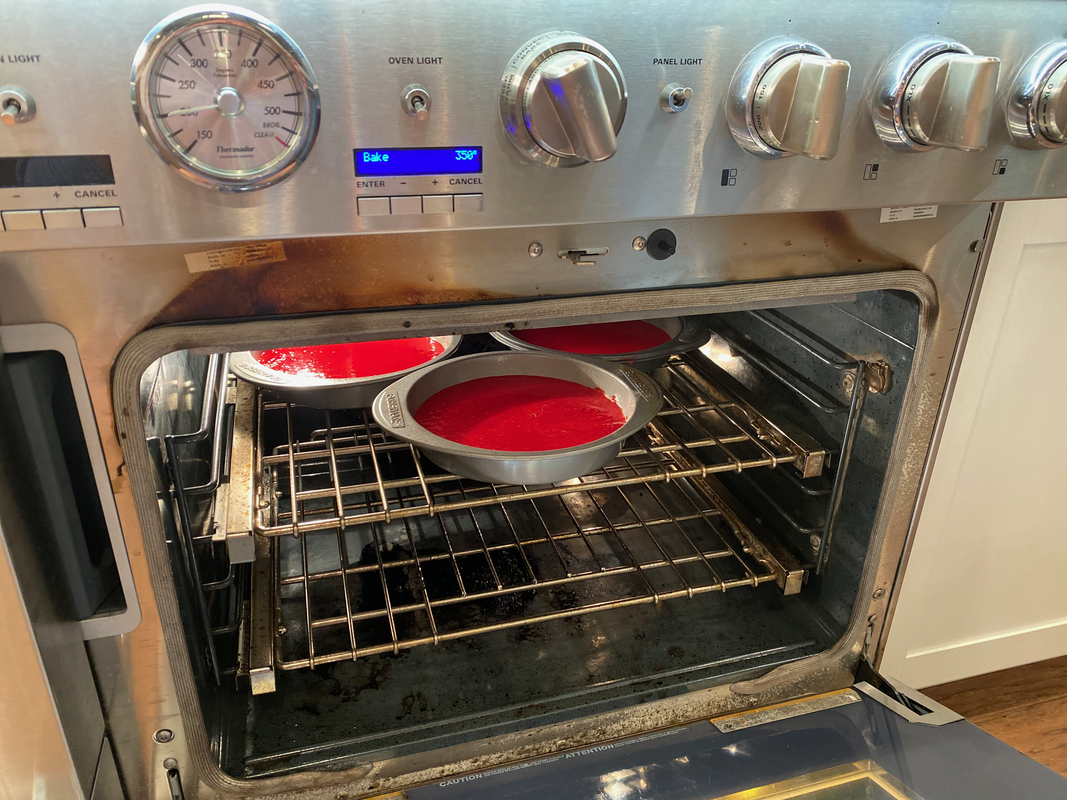 Bake at 350 for about 20 minutes or until a toothpick comes out clean from the center. Let the cakes rest for 10 minutes before removing them from the pans. Line cooling racks with paper towels or parchment paper, then turn out the cakes onto the racks to cool completely. FOR THE ICING Add the butter, cream cheese, powdered sugar, vanilla and salt to a mixer. Start on the lowest setting until everything is blended to prevent the powdered sugar from spilling out of the mixer. Once the icing starts coming together, slowly increase the speed to medium, then whisk on high for 60 seconds until light and fluffy. To frost the cakes, start by placing a small amount of icing in the center of a cake stand or serving platter. Add the first cake layer in the center of the dish. Spoon some of the icing onto the top layer, and use an offset spatula to evenly spread the icing out to the edges. Repeat this process for the second layer. Place the third layer upside down on the top of the cake. Then, place a skewer through the center of the cake to stabilize it. Using small amounts of icing, frost the sides of the cake first. Then spoon the icing onto the top of the cake and evenly spread it out to the edges and over the sides. 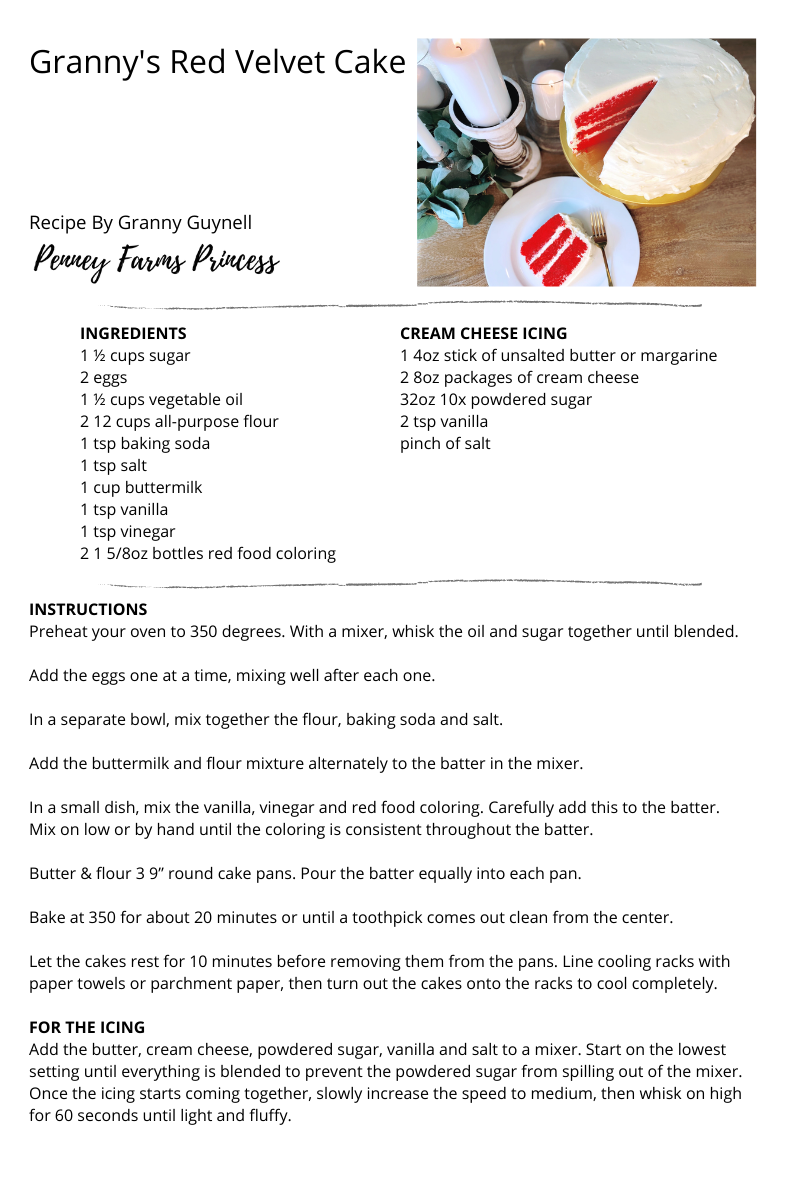
1 Comment
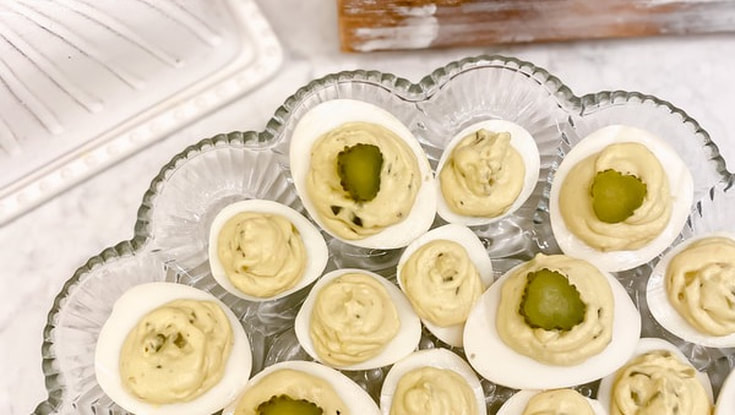
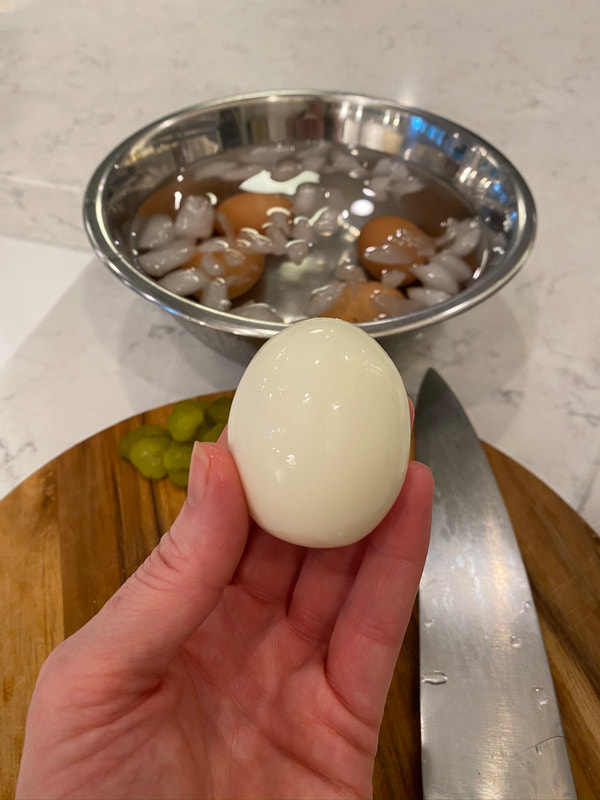
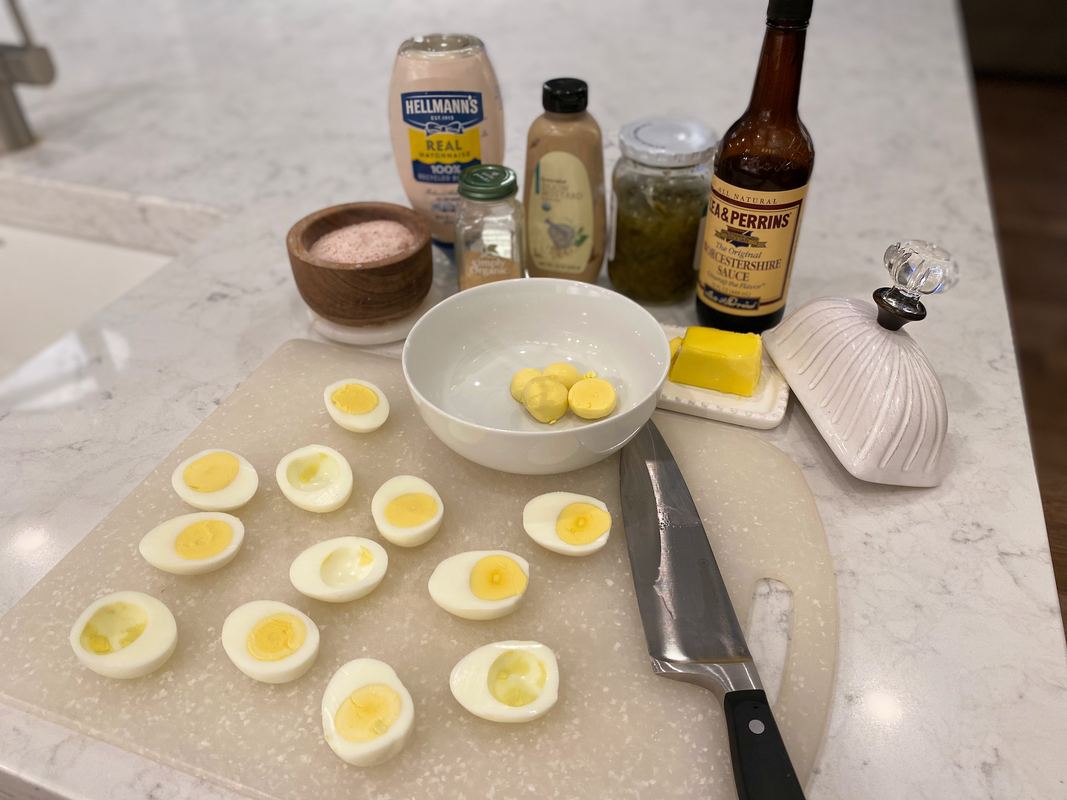
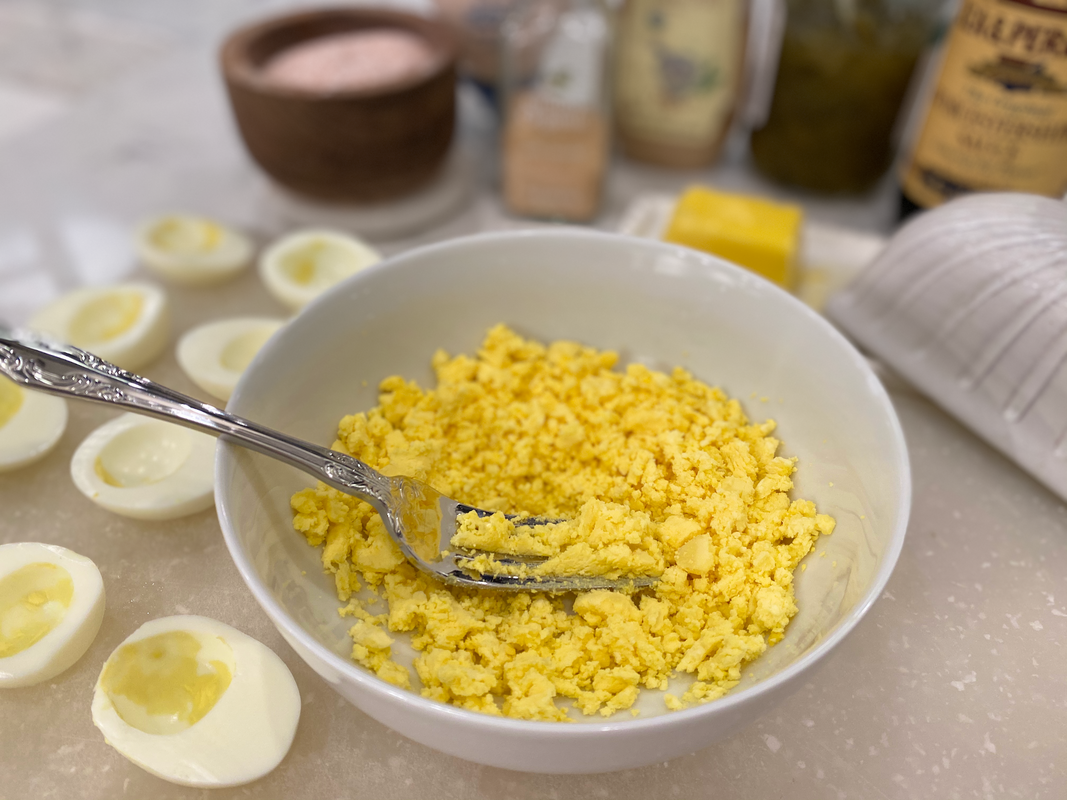
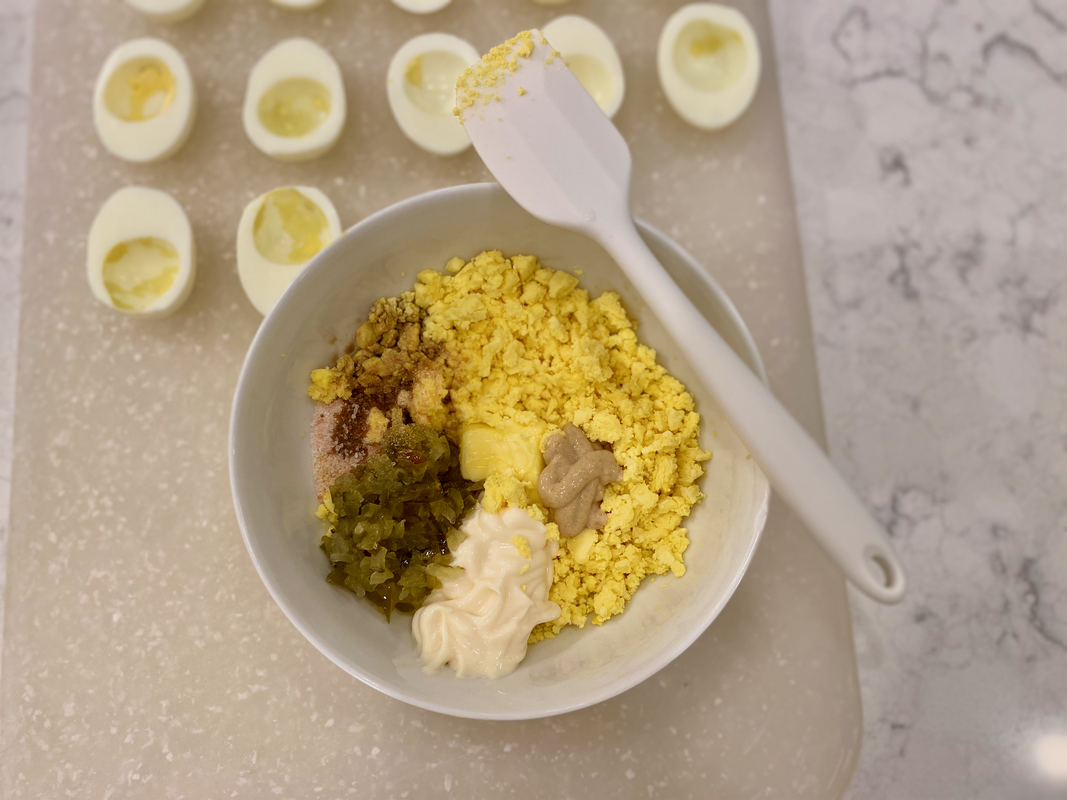
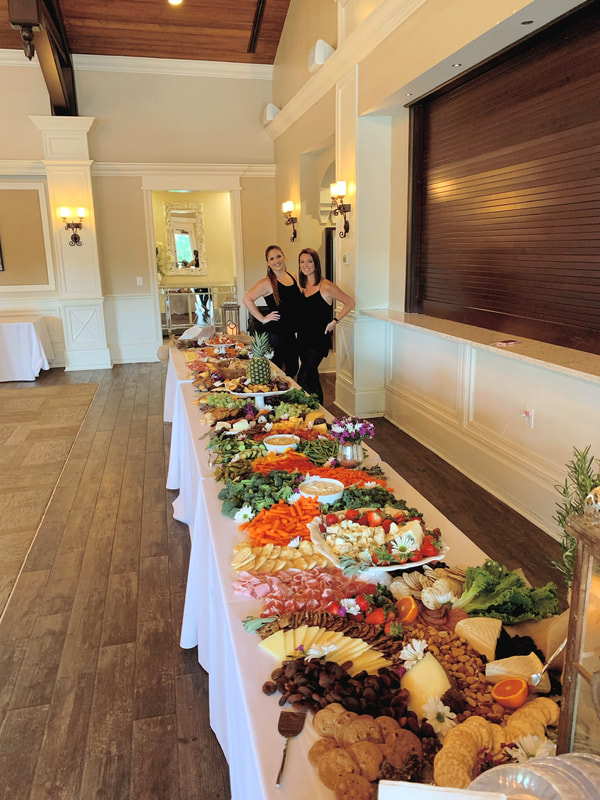
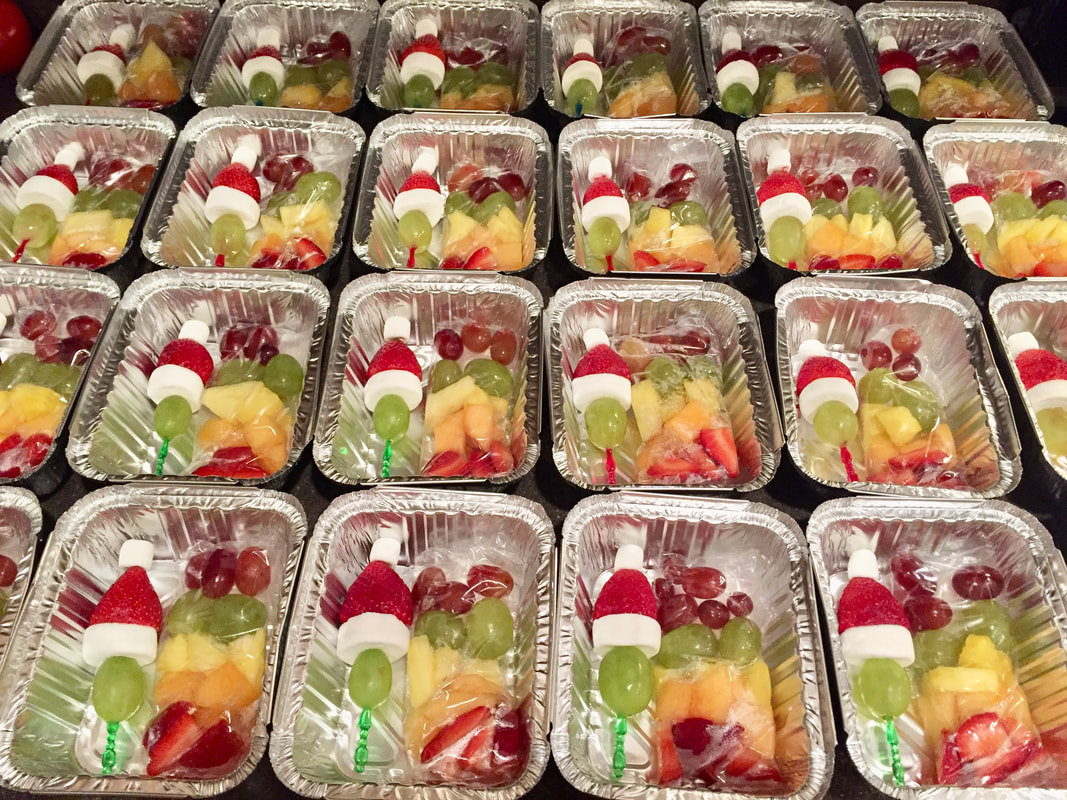
TIP Corey recommends putting the eggs in an ice bath immediately after cooking. This makes the eggs easy to peel. Otherwise you could end up with deviled eggs that look like dimpled golf ball. Ew. David. Secret Ingredient Corey’s secret ingredient is… well, she has two secret ingredients. First, butter. Like any good southern belle, she believes that butta makes everything betta. (If you read that in your best southern draw, you read it correctly.) The other secret ingredient is, in the words of the great southern queen Trisha Yearwood, “what’s this here sauce.” A few dashes of Worcestershire sauce gives Corey’s deviled eggs that little something extra. TOPPING IDEAS Paprika • Bacon Crumbles • Crispy Prosciutto • Spanish Olive Slice • Sprig of Fresh Dill • Sliced Cornichon • Blue Cheese Crumble & Grape Tomato Slice 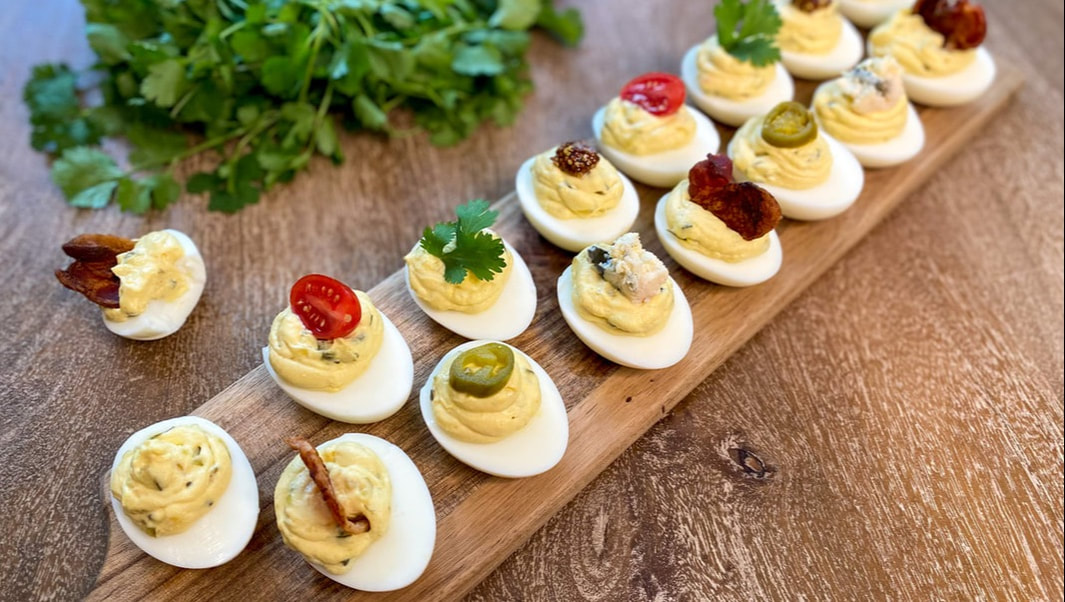 Meet Corey… Y’all, I can’t say enough about this beautiful soul. She’s my best friend in the whole world, my confidant, fellow foodie, and favorite travel partner. God surely had a plan bringing the two of us together. I’m blessed to have her in my life. 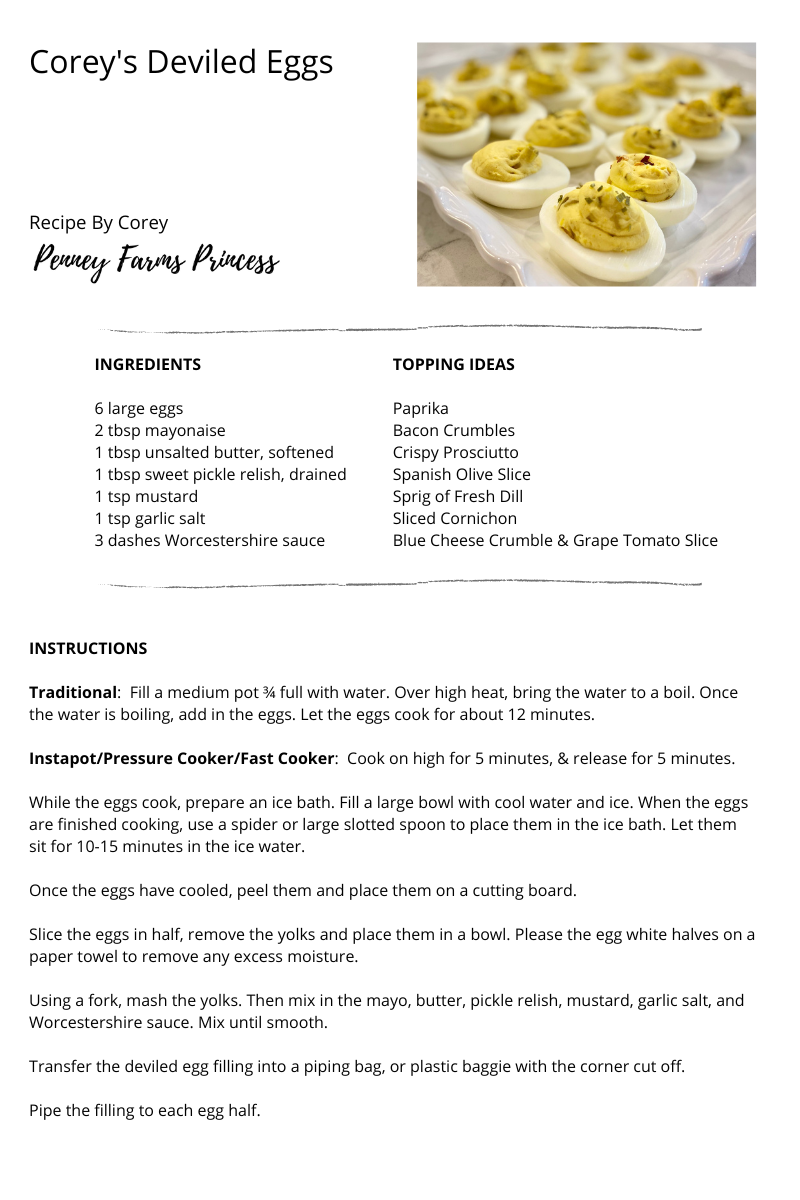 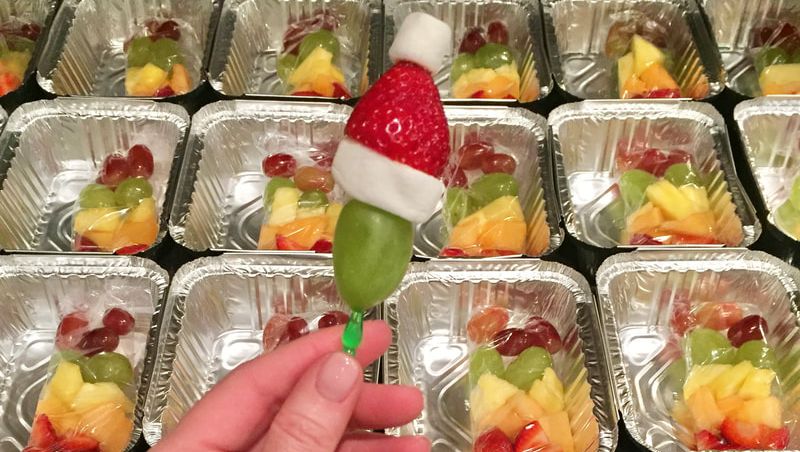 I made these adorable Grinch Fruit Skewers for my stepson’s elementary school Christmas celebration years ago. They were a hit with the kids and the parents loved them because it wasn’t packed with a ton of refined sugar. WHAT YOU NEED
HOW TO DO IT
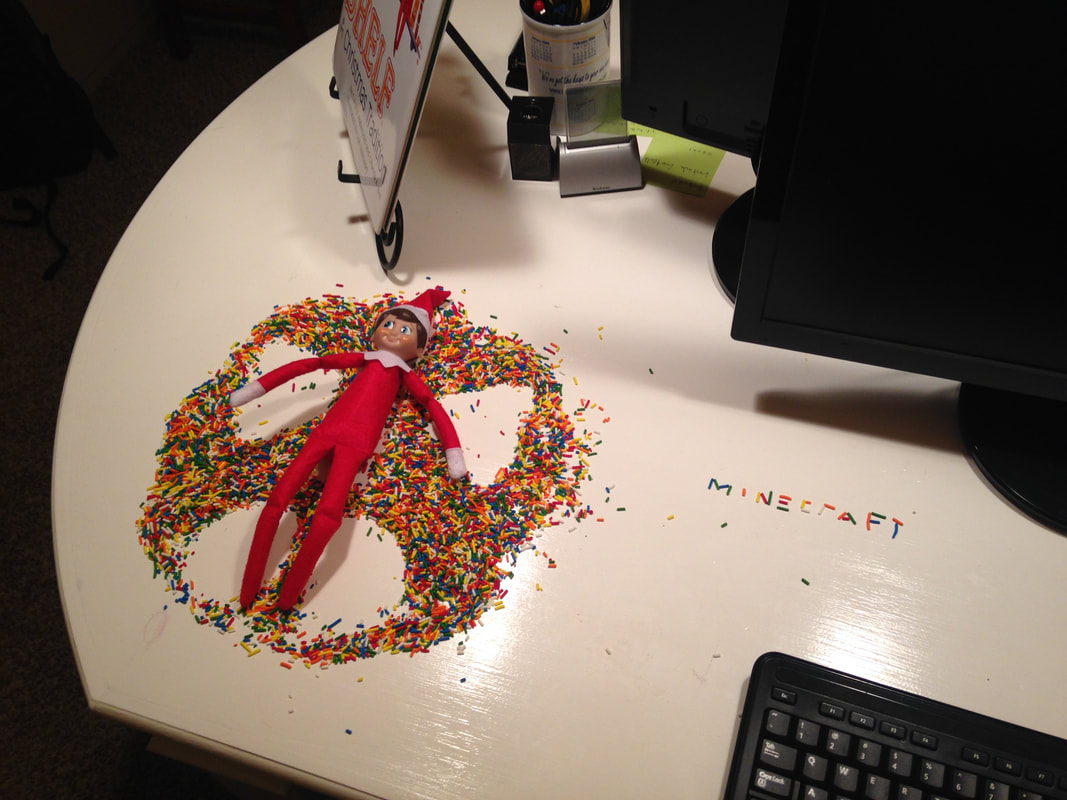
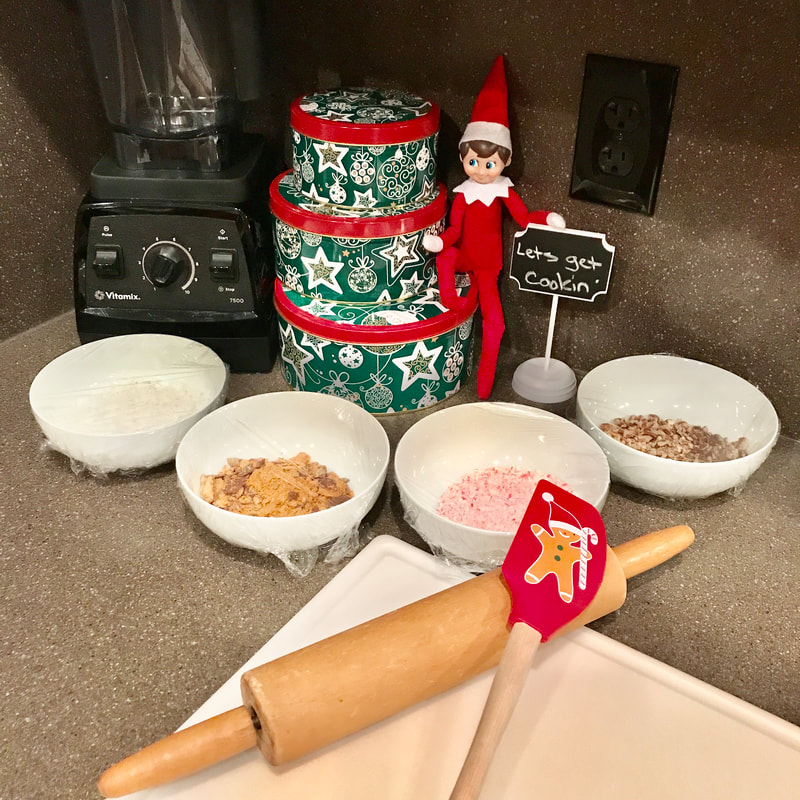
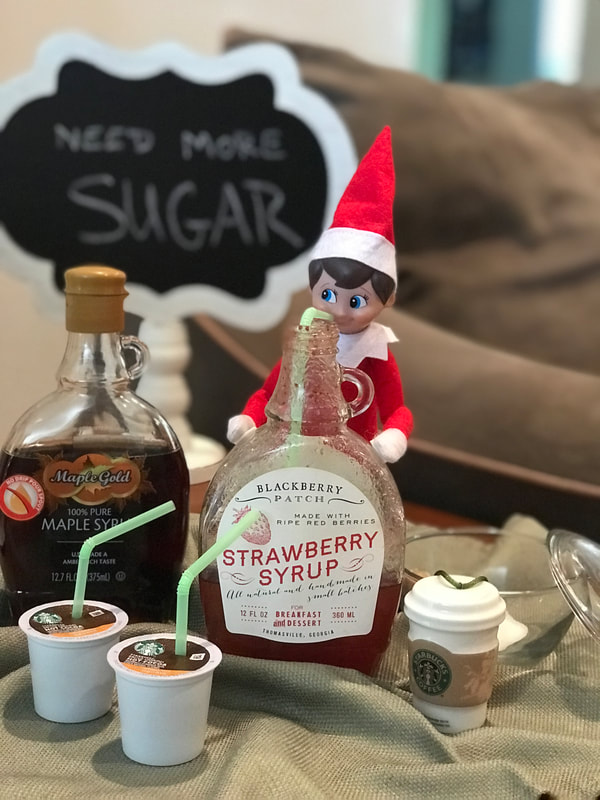
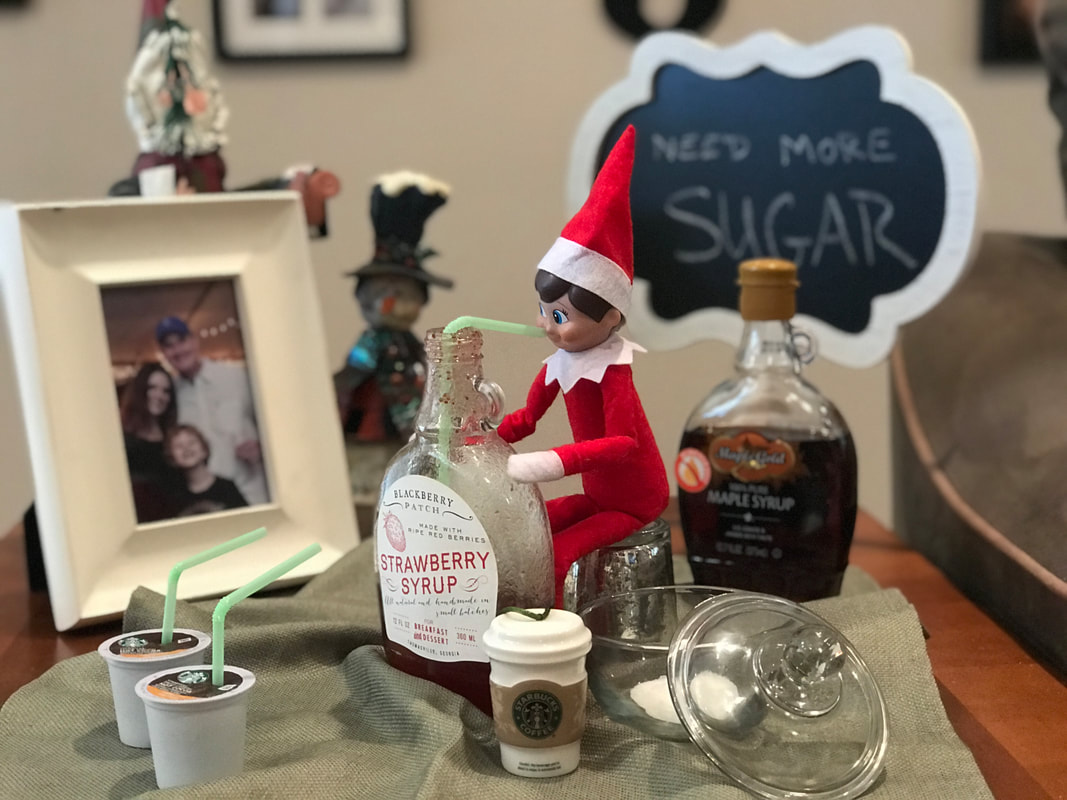
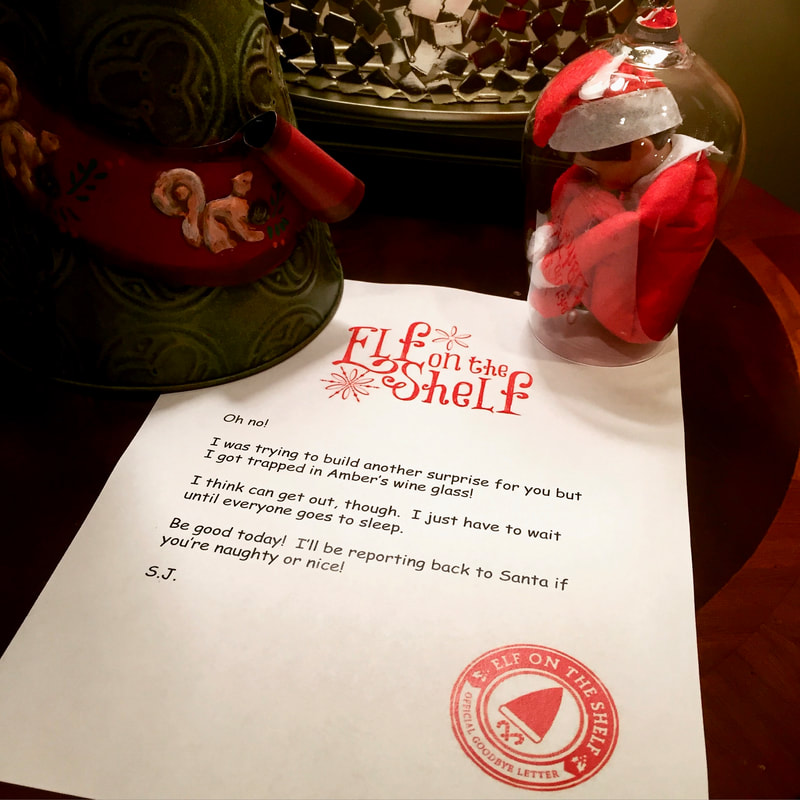
TIP: Make sure the fruit is dry before stacking it with the marshmallows. To assemble a Grinch, place the items on the skewer in this order: Grape Large Marshmallow Half Strawberry (Upside Down) Mini Marshmallow Viola! You just made yourself a Grinch. I paired these cuties with a simple baggie of rainbow colored fruit, and packaged them all in Christmas themed containers. 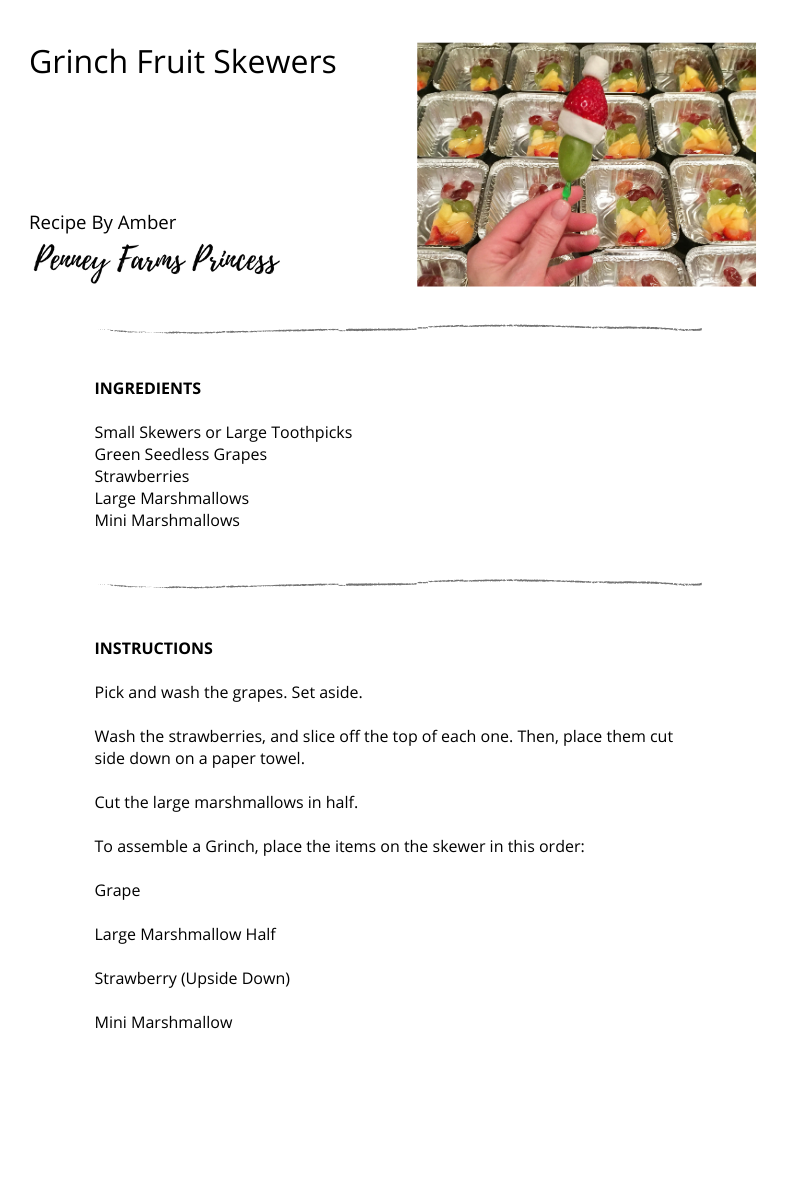  Our family had so much fun with the Elf on the Shelf. We started it when he was about 9 years old, and continued it until he was about 13. My son would request the return of SJ, his elf, because “it just wouldn’t be Christmas without him.” Melt. My. Heart. Sweet boy, I would move mountains for you, so if you want an Elf on the Shelf, you’re going to get the best Elf on the Shelf ever. And so we did. If the thought of creating something completely over the top every single night stresses you out, Here are some tips:
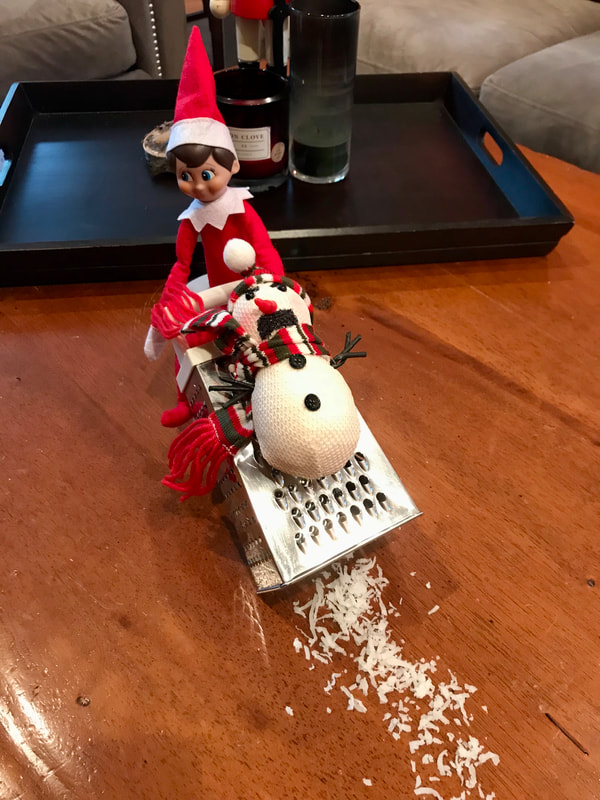
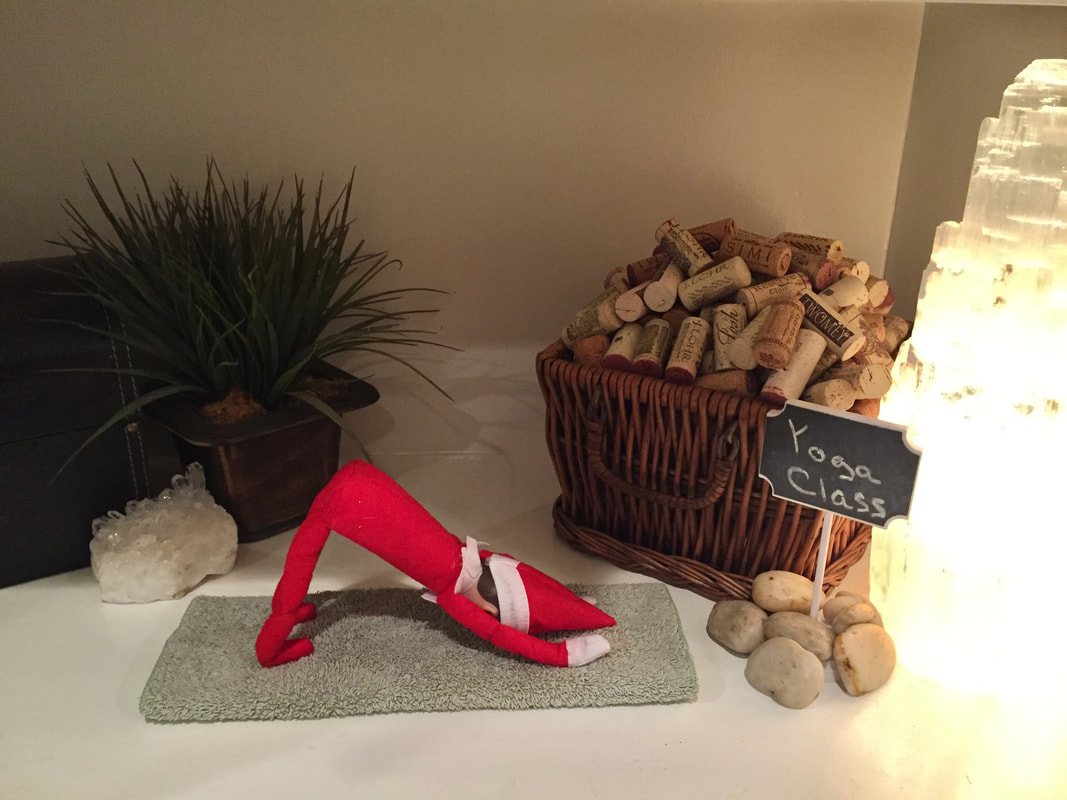
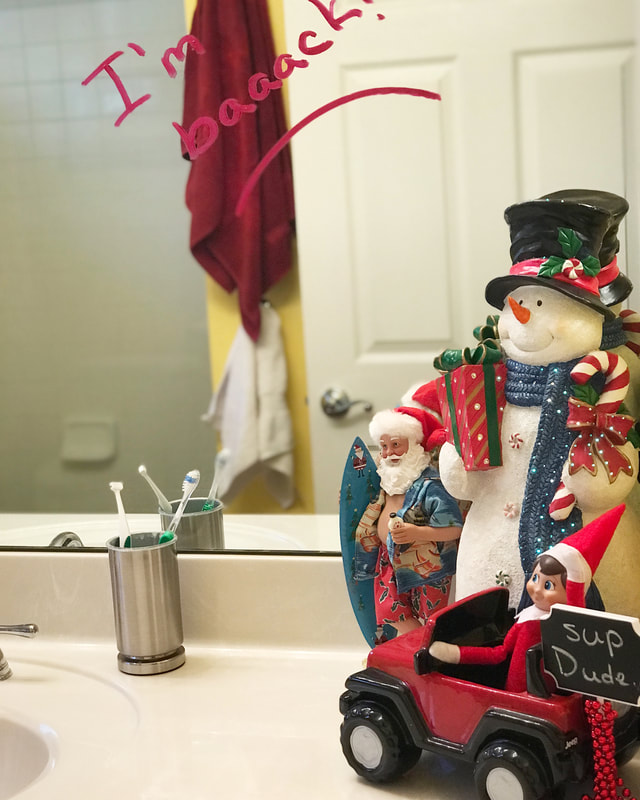
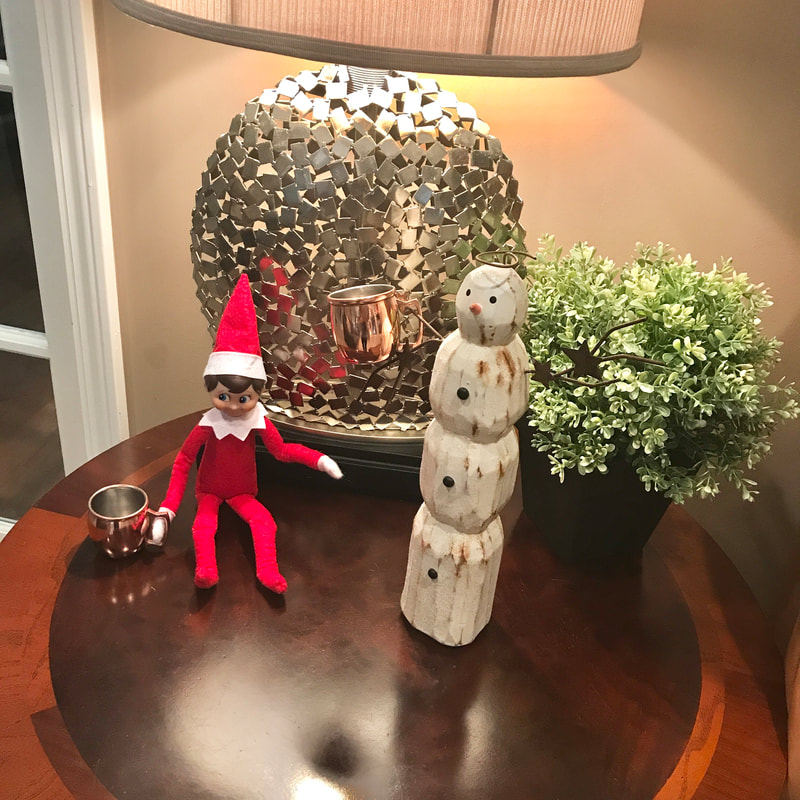
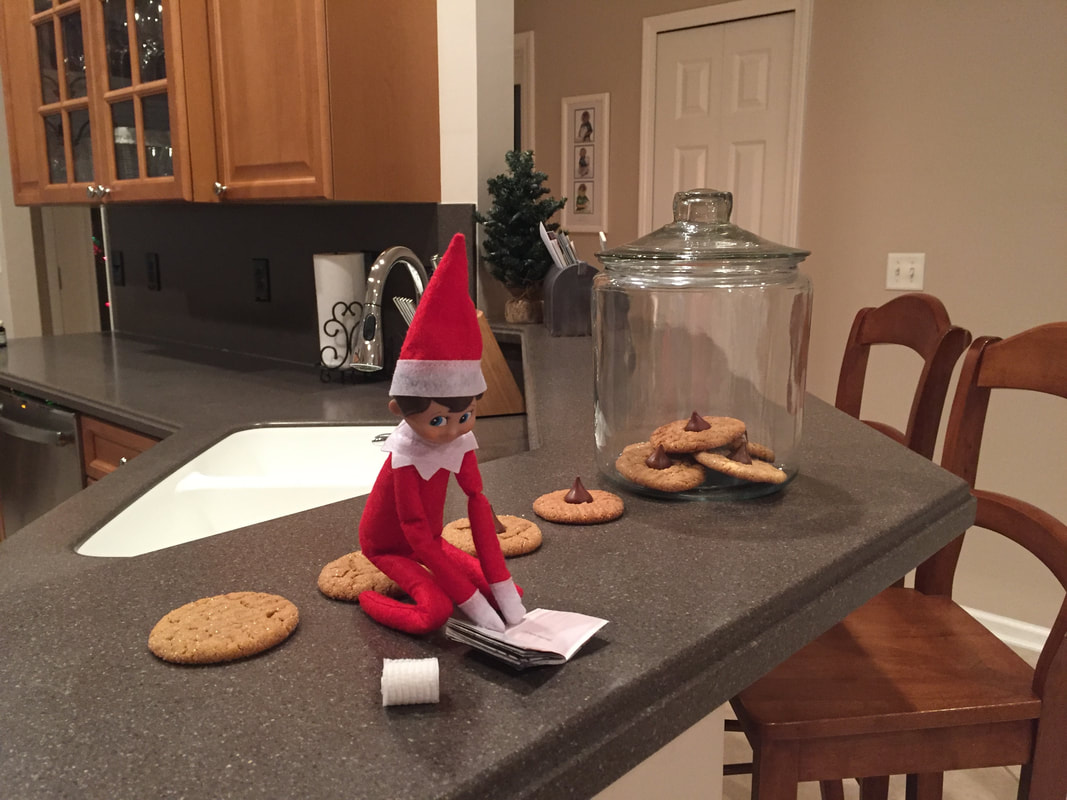
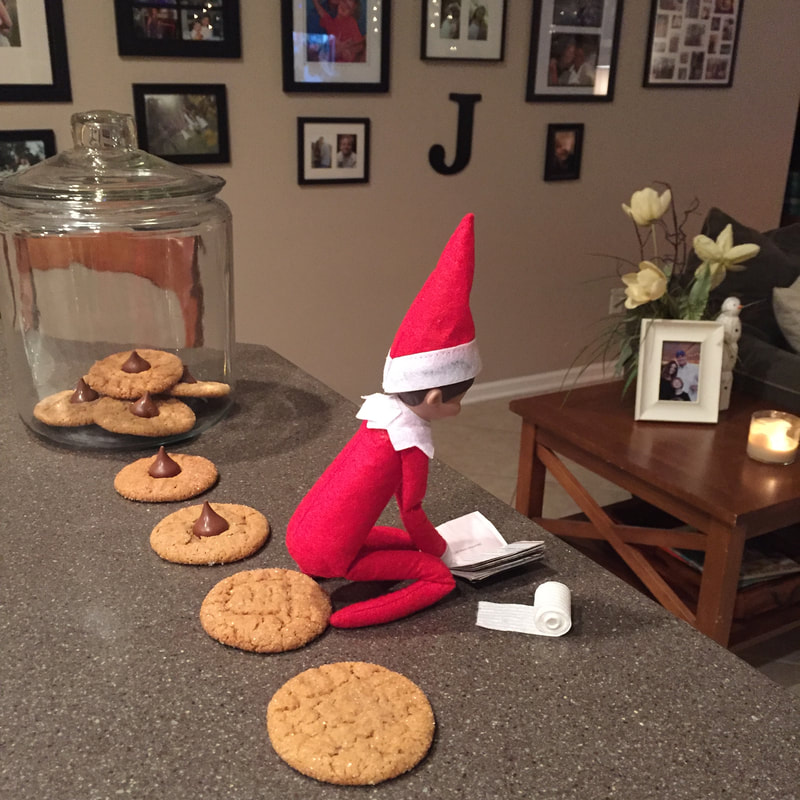
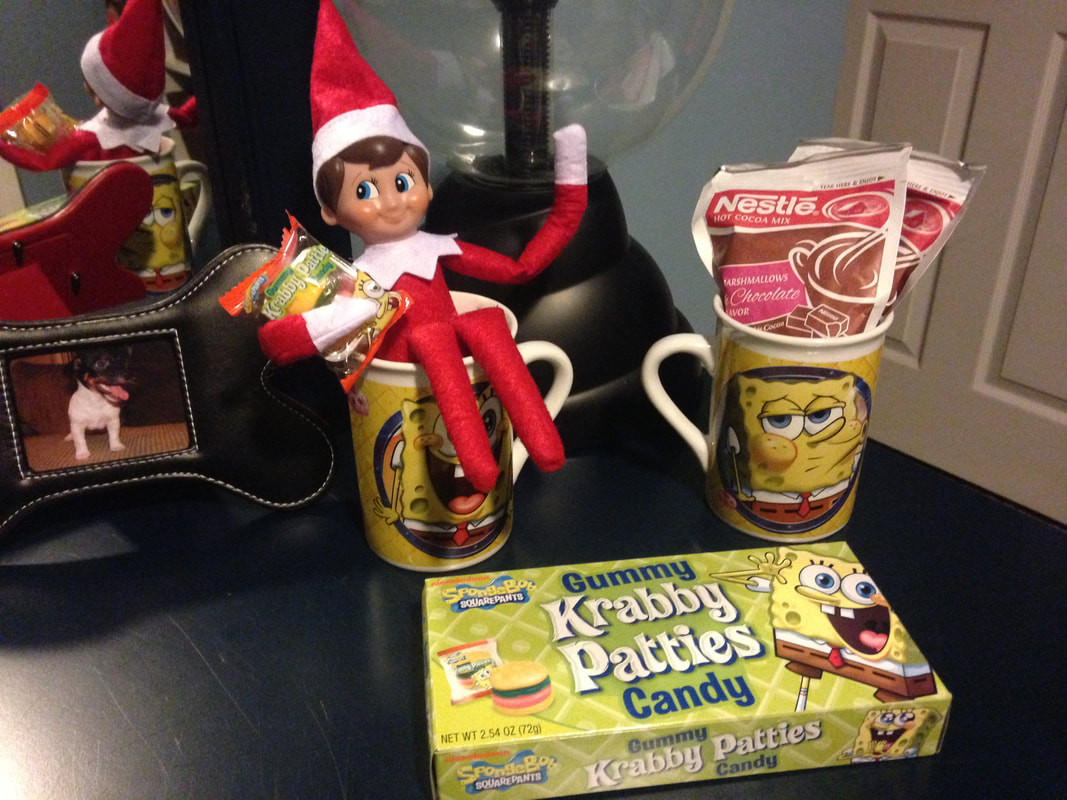
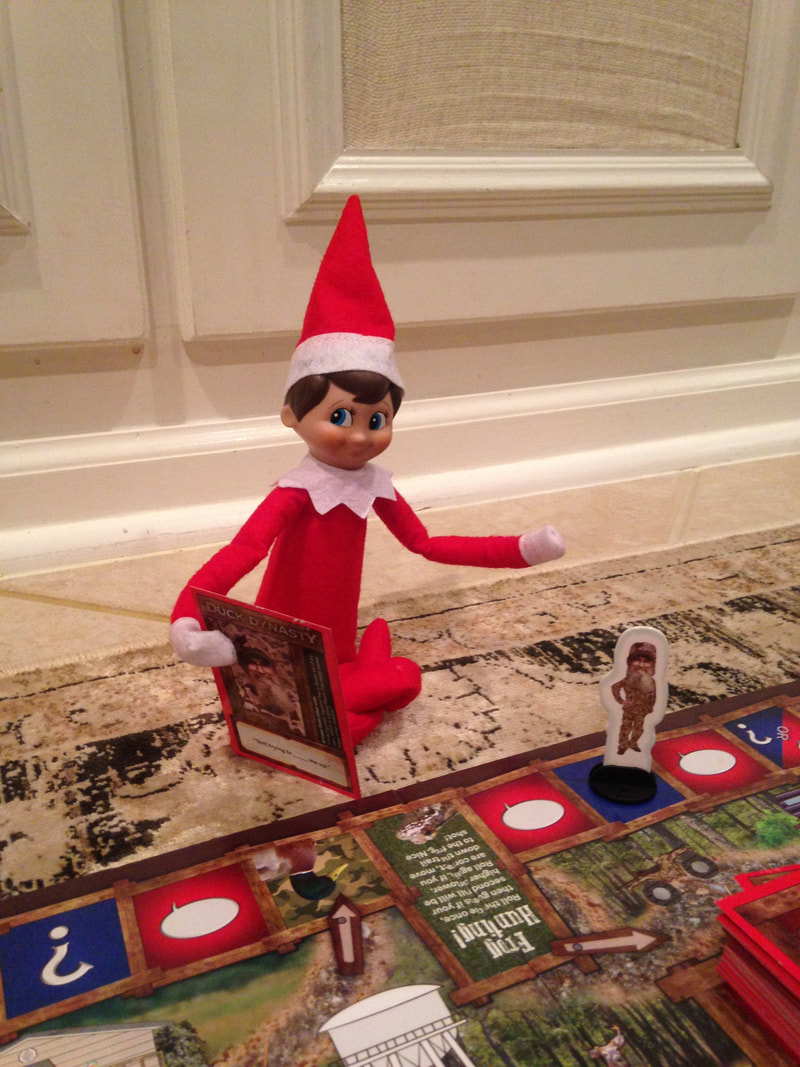
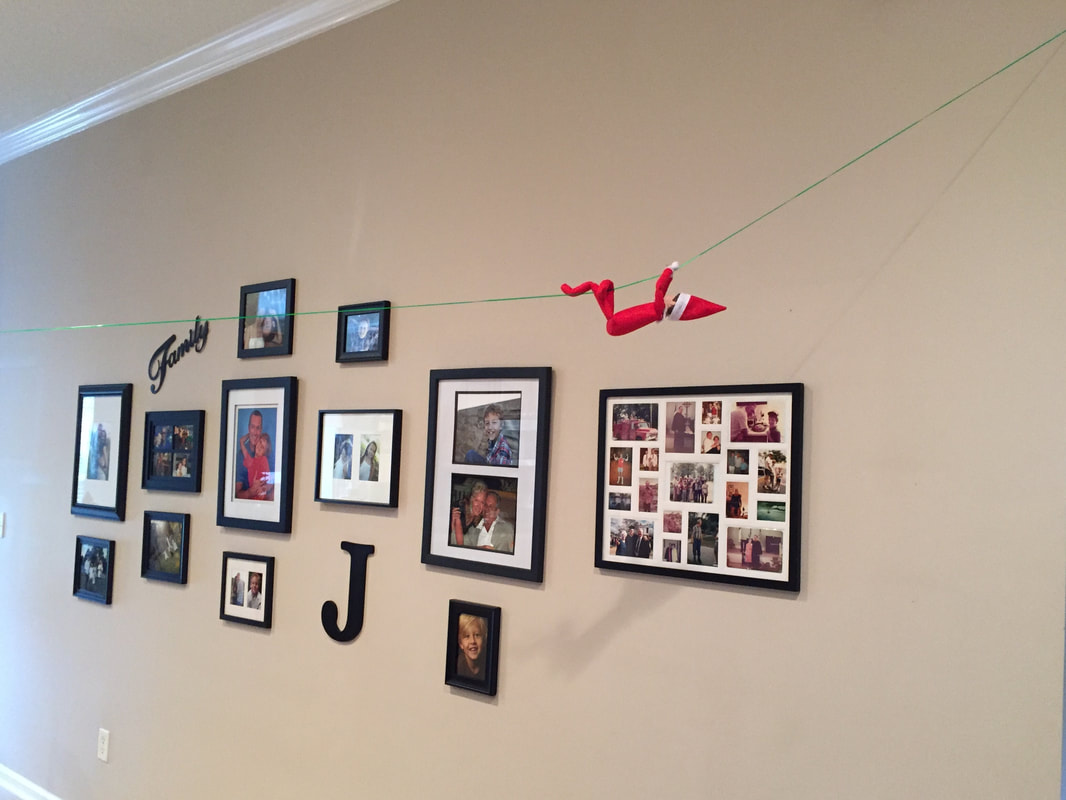
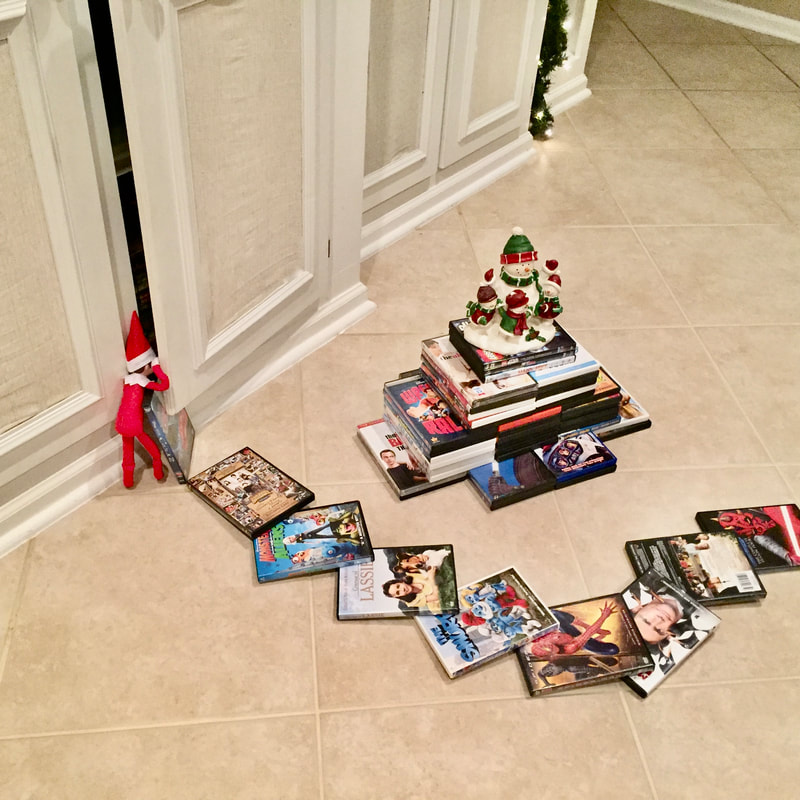
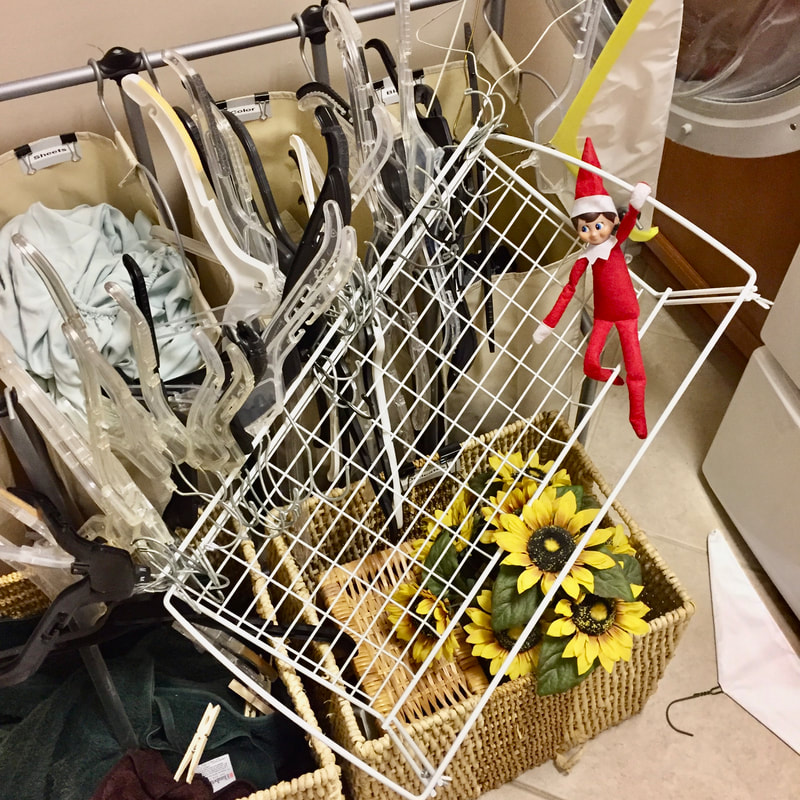
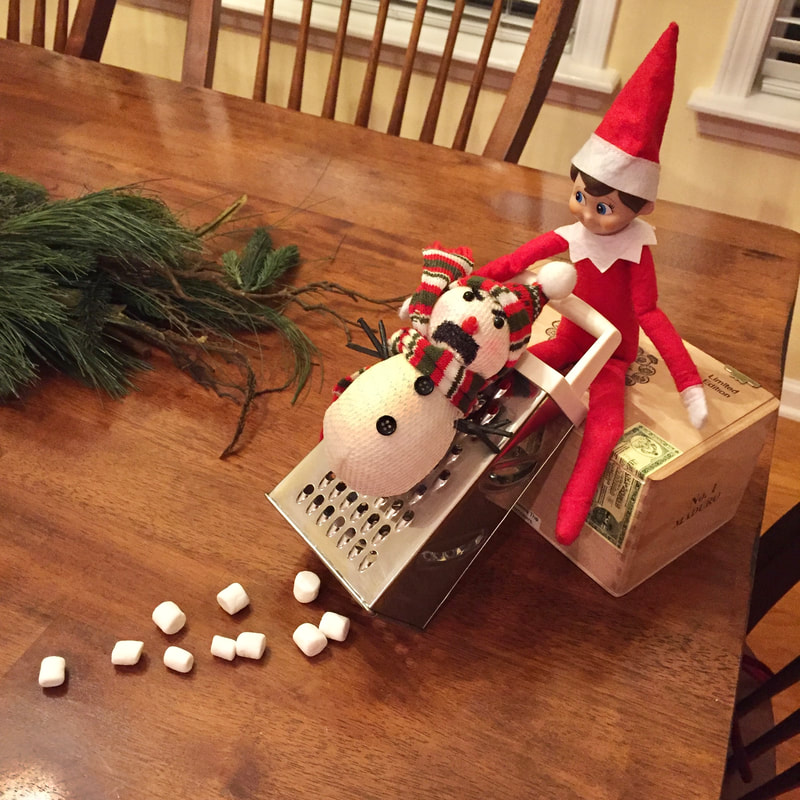
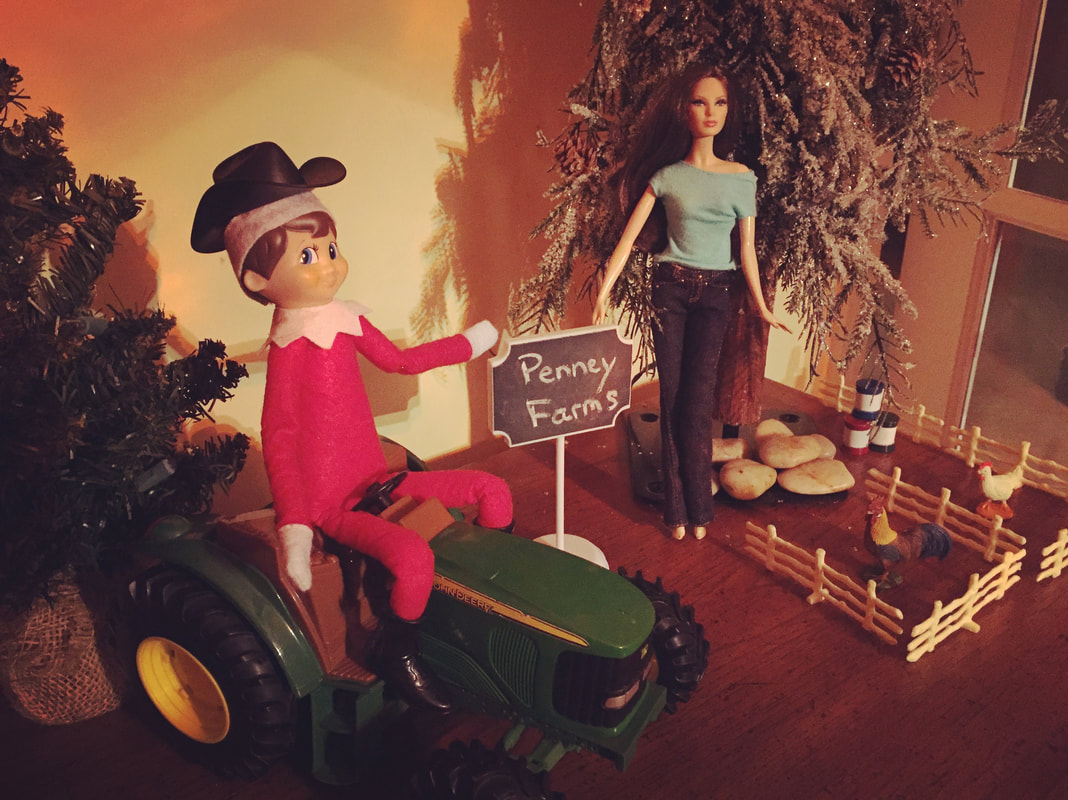
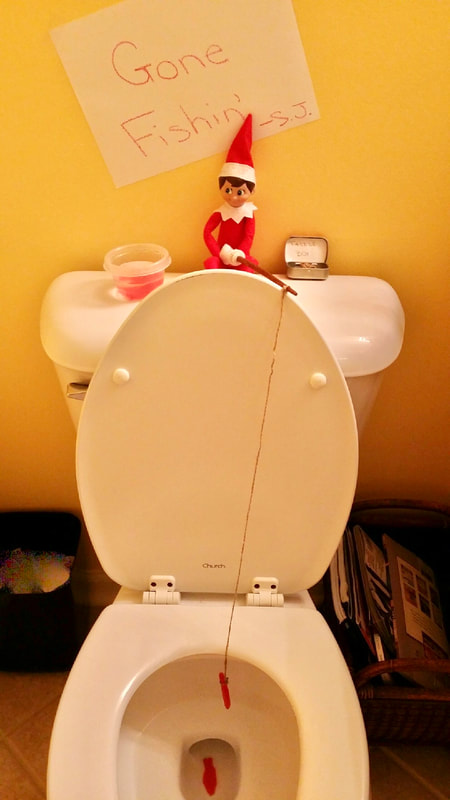
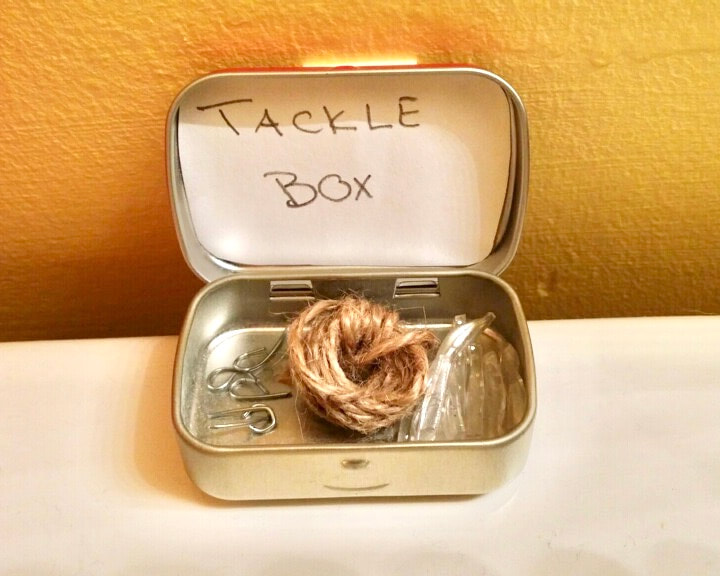
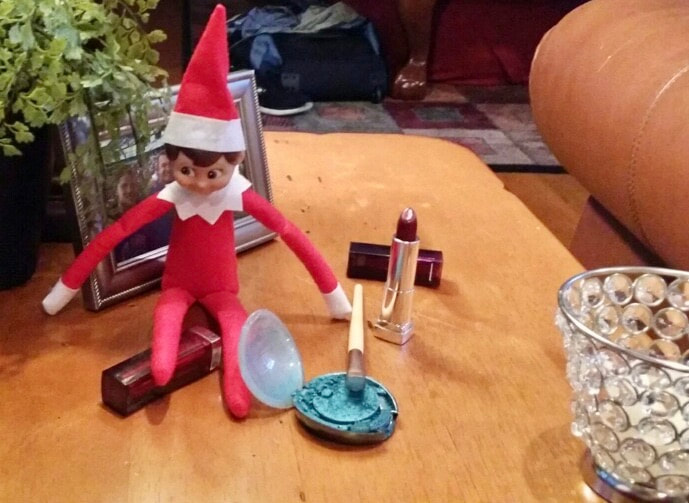
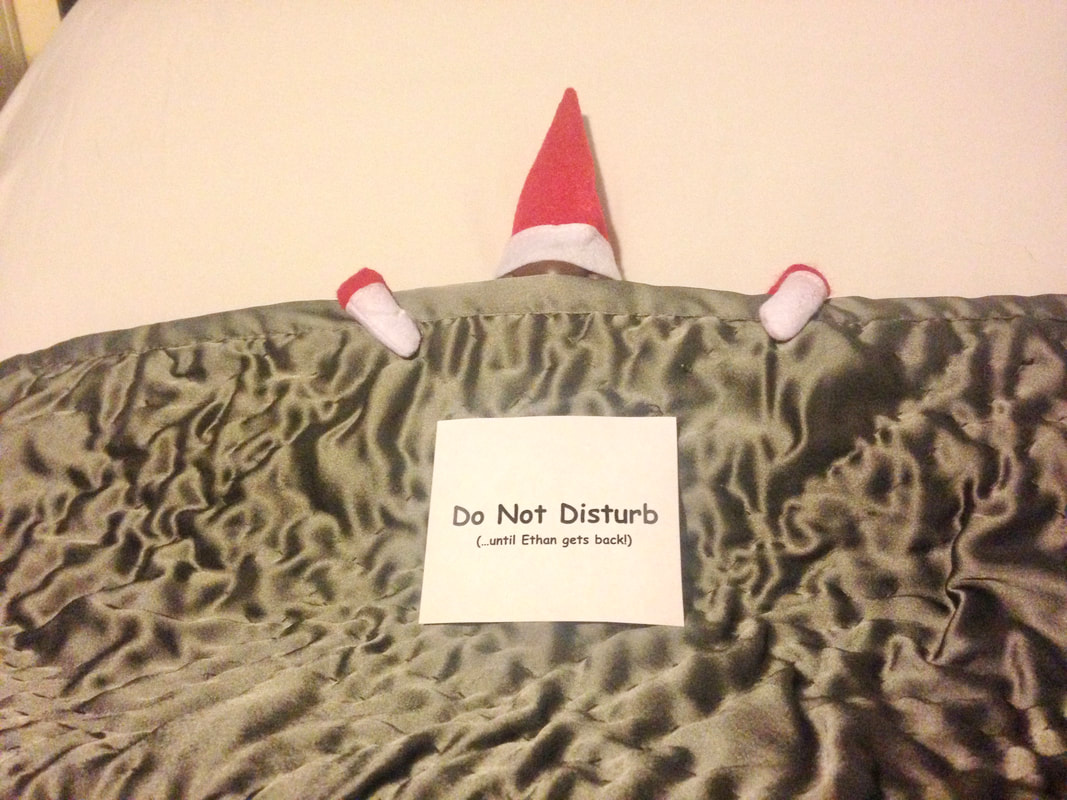
My son would cackle with laughter each morning when he saw the mischief that SJ created. THAT is what it was all about for me. Seeing his face light up was everything. From shredding a snowman, to “making” cookies SJ created some pretty fun memories for our family. The introduction of our Elf on the Shelf, SJ. Some of my favorites... When your child visits the other parent... We have our son the majority of the time, but when he would visit his biological mother, I would come up with cute ways for SJ to let my son know that he'd be right there waiting for him when he came back home. Free Downloads for YouMerry Christmas y'all! |
AuthorAmber Categories
All
Archives
August 2023
|


 RSS Feed